Kubernetes Cluster Installation
These steps install the Credo AI application to a kubernetes cluster.
Refer to the Replicated reference material for more detailed information.
Install kots (online only)
Install the kots cli plugin from an online script and install the kotsadmin with the credoai application into the cluster.
## install kots cli and kotsadm
curl https://kots.io/install | bash

## install the credoai kots application (default namespace)
kubectl kots install credoai

## install the credoai kots application to a specific namespace
kubectl kots install credoai -n credoai-ns
This command will start a port foward that can be used to visit the kotsadmin UI.
Install kots (airgap only)
Install the kots cli plugin using the Replicated instructions and the kots cli bundle downloaded from the Customer Download Portal
Push kots images from the kotsadmin bundle (kotsadm.tar.gz) downloaded from the Customer Download Portal.
set up access to your private registry (example ECR)
REGISTRY_HOST=<acctid>.dkr.ecr.us-west-2.amazonaws.com
RW_USERNAME=AWS
RW_PASSWORD=$(aws ecr get-login-password)

# use the following command the push kotsadmin images to your repo
kubectl kots admin-console push-images ./kotsadm.tar.gz $REGISTRY_HOST \
 --registry-username $RW_USERNAME \
 --registry-password $RW_PASSWORD
Install kotsadmin and add the credoai kots application.
# set registry namespace that you pushed kotsadmin images to
REGISTRY_NAMESPACE=kotsadm

# set up read-only access to your private registry (example ECR)
REGISTRY_HOST=<acctid>.dkr.ecr.us-west-2.amazonaws.com
RO_USERNAME=AWS
RO_PASSWORD=$(aws ecr get-login-password)

# install using kots cli
kubectl kots install credoai \
 --kotsadm-registry $REGISTRY_HOST \
 --kotsadm-namespace $REGISTRY_NAMESPACE \
 --registry-username $RO-USERNAME \
 --registry-password $RO-PASSWORD
Add the Credo AI kots application to kotsadmin and have kotsadmin listen on a local port
# example using credoai kubernetes namespace
$ kubectl kots install credoai

Enter the namespace to deploy to: credoai
 • Deploying Admin Console
   • Creating namespace ✓
   • Waiting for datastore to be ready ✓
Enter a new password to be used for the Admin Console: ••••••••
 • Waiting for Admin Console to be ready ✓

 • Press Ctrl+C to exit
 • Go to http://localhost:8800 to access the Admin Console
kotsadmin UI
Visit the address shown in the kotsadmin output. The initial screen explains that the UI is secured with a self-signed TLS certificate by default.
Click on the button or the link to proceed.
You will be presented with a choice about whether or not to use the default self-signed TLS certificate or provide your own.
If the initial connection to kotsadm gets lost, you can start a new one by running kubectl port-forward to forward the kotsadmin service to your localhost:
kubectl port-forward <kotsadm-pod-name> <local-port>:<service-port> -n <namespace>
Replace kotsadm-pod-name, local-port, service-port, and namespace with the appropriate values for your deployment. After running this command, you can access the kotsadmin UI by navigating to http://localhost:<local-port> in your web browser.
kotsadmin UI TLS (optional)
If you choose to upload your own certificate pair, ensure they are in the PEM format.
kotsadmin UI
Use the password or the one you set to login.
Upload license
Upload the license you downloaded from the Customer Download Portal.
kots Credo AI Application (air gap only)
If you selected the air-gapped installation, you will see a screen where you can upload the air gap bundle that was downloaded from the Customer Download Portal.
Even if you selected airgap you also have the option to install from the internet if your particular environment has an outbound connection.
Configure and Deploy Credo AI
Once you have configured kotsadmin with TLS settings, your license and added the credoai application you will be directed to the credoai application page.
Configuration
The Credo AI application configuration screen shows by default before any deployments have been issued.
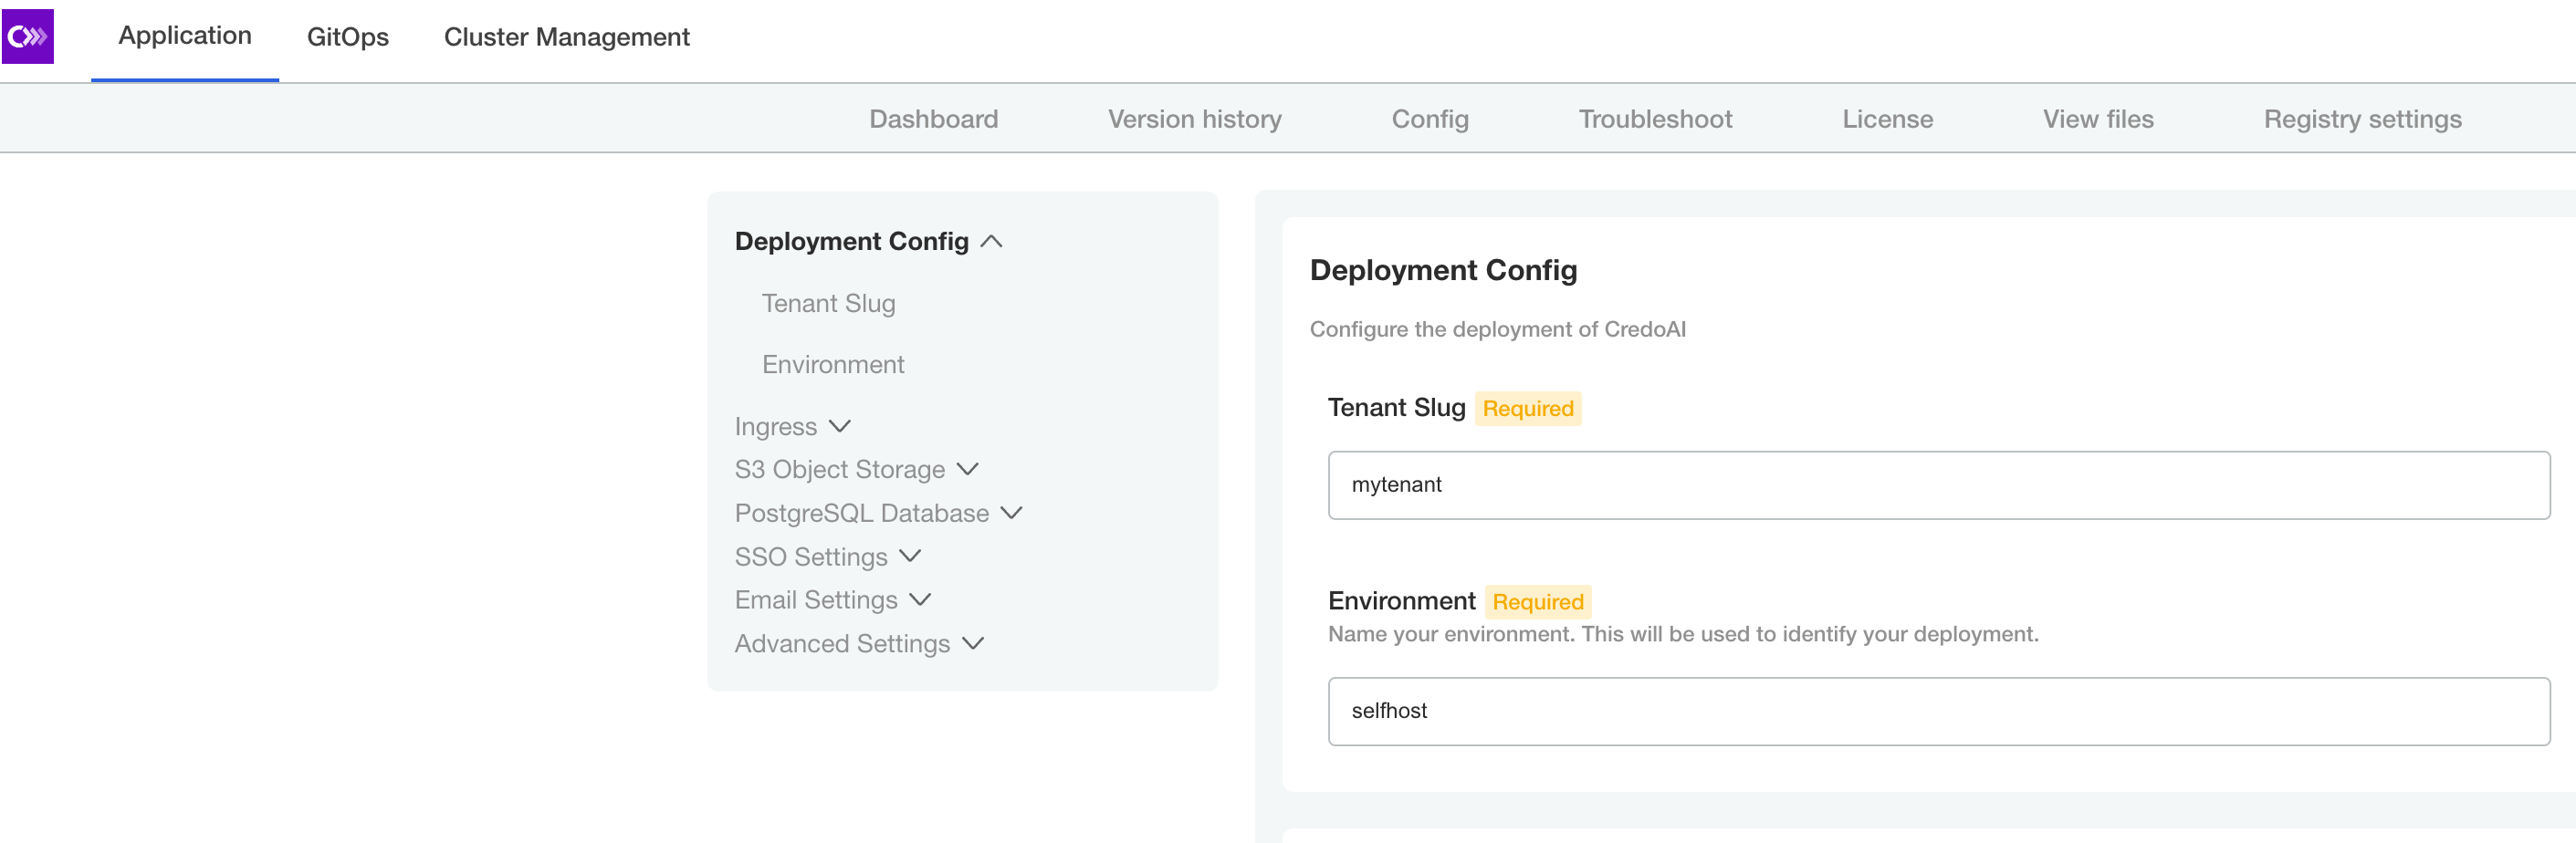
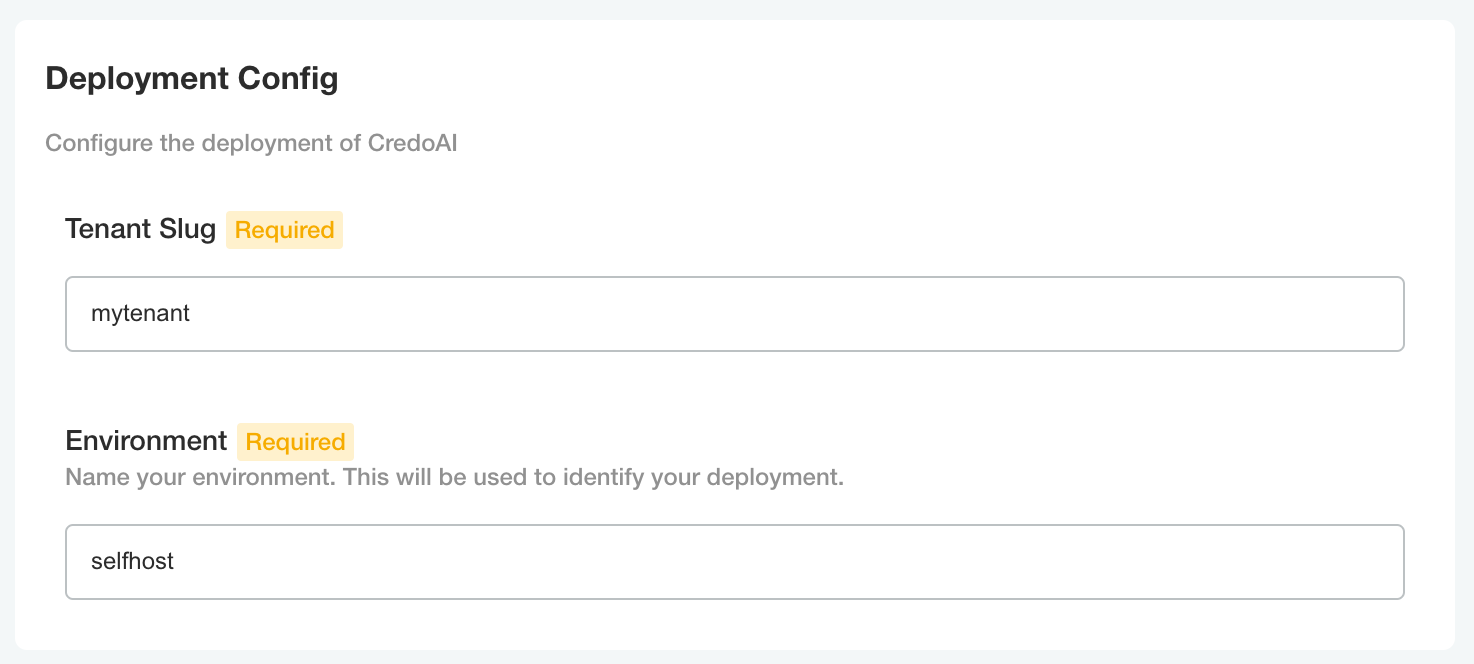
Tenant
Enter a tenant slug and environment. This tenant name will be used later in the Tenant Initialization section below.
The slugs accepted by the Credo AI application must follow these requirements:
- All lower-case alphanumeric
- Cannot start or end with underscore
- Cannot start or end with a numeral
- Maximum two (2) underscores
Hostname
Enter the DNS hostname that you have provisioned, or plan to provision, for the Credo AI application.
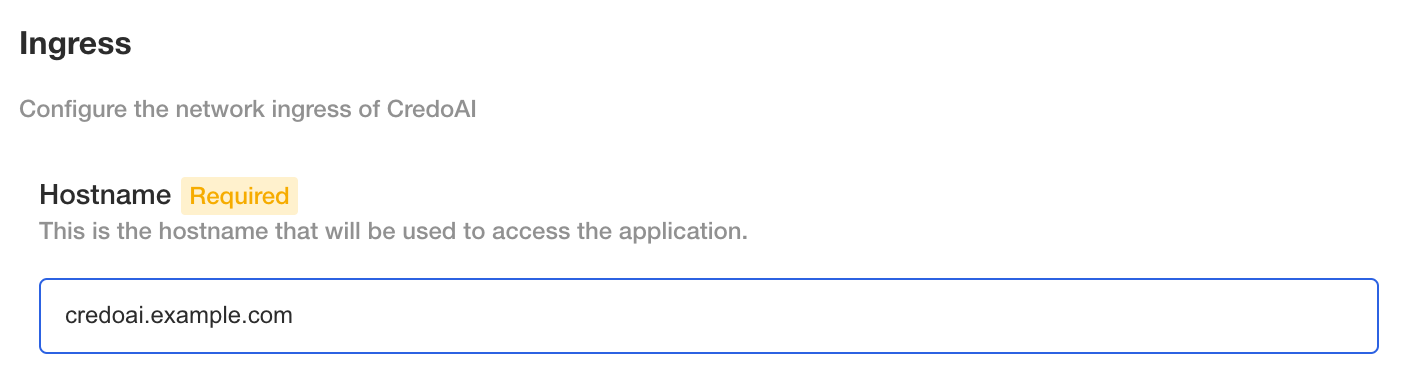
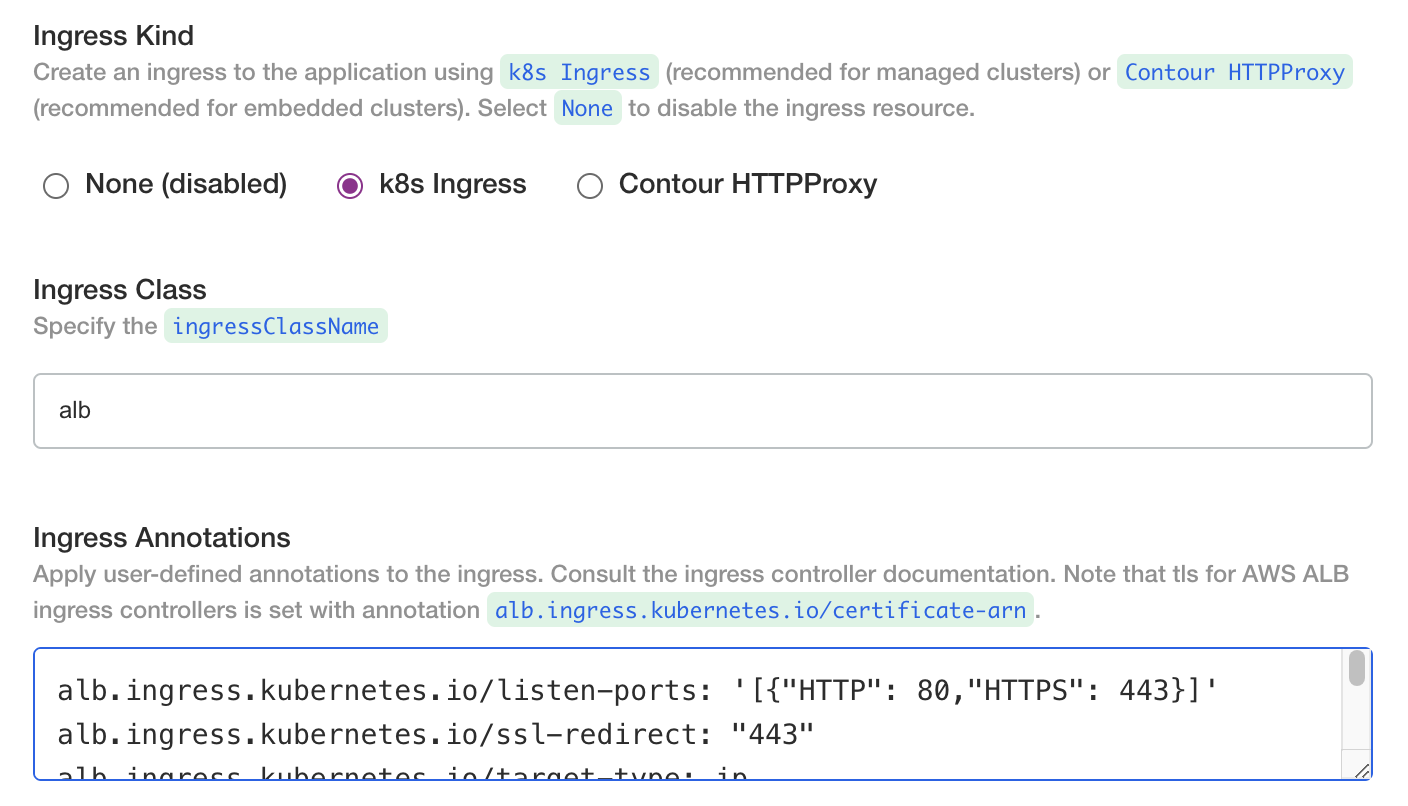
Ingress
We recommend using the k8s ingress option and configuring it for the ingress controller in your cluster.
If you are using AWS ALB load balancer ingress (IngressClass: alb) you may have to deploy the application and then set the DNS records after the ALB endpoints are returned by the controller. If you are using an existing ingress controller with known endpoints, you could provision the DNS records prior to deploying the application.
If you are using AWS ALB load balancer ingress (IngressClass: alb) consider the following annotations at a minimum from the reference (https://kubernetes-sigs.github.io/aws-load-balancer-controller/v2.5/guide/ingress/annotations/).
# generally applicable
alb.ingress.kubernetes.io/listen-ports: '[{"HTTP": 80,"HTTPS": 443}]'
alb.ingress.kubernetes.io/ssl-redirect: "443"
alb.ingress.kubernetes.io/target-type: ip
# public IP address
alb.ingress.kubernetes.io/scheme: internet-facing
# private IP address
alb.ingress.kubernetes.io/scheme: internal
If you are using AWS ALB load balancer ingress recall that the .spec.tls field is not recognized. Specify an ACM certificate using annotations (https://kubernetes-sigs.github.io/aws-load-balancer-controller/v2.5/guide/ingress/annotations/#certificate-arn)
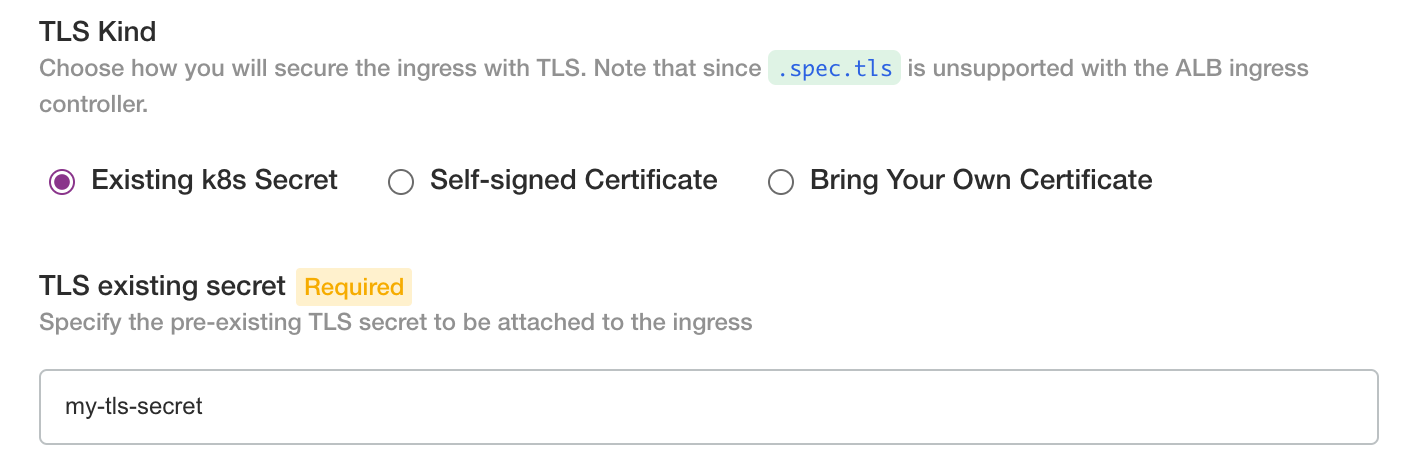
Ingress TLS
Both ingress options allow for the following TLS options:
- none (choose this if you will have TLS terminated by another load balancer)
- existing secret
- self-signed cert (this is for test only and is not recommended for production)
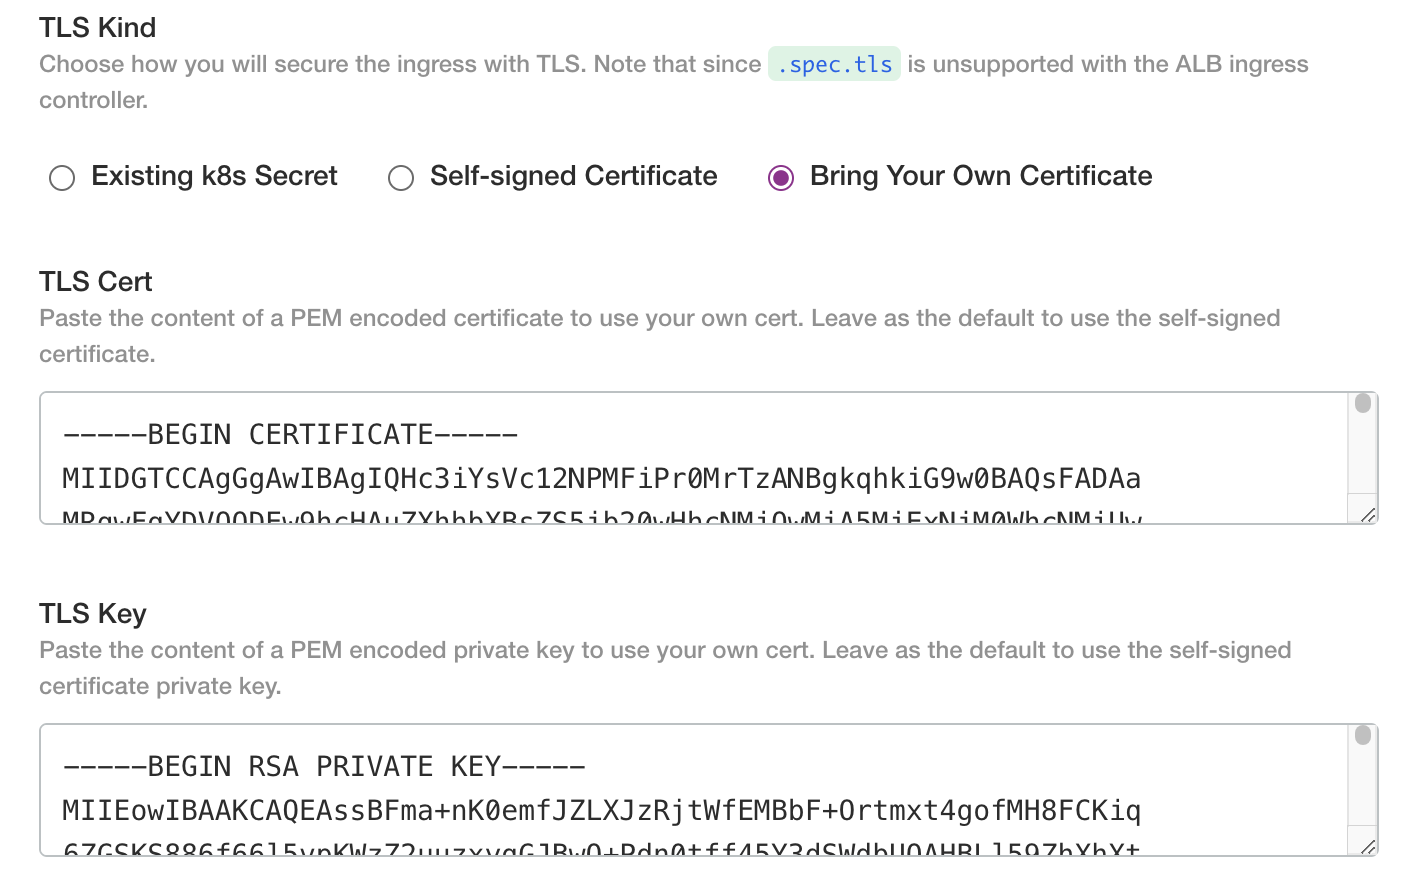
- bring your own cert
If you have an existing k8s kubernetes.io/tls secret, fill the name reference in.
If you have a cert/key pair copy the PEM contents into the text fields
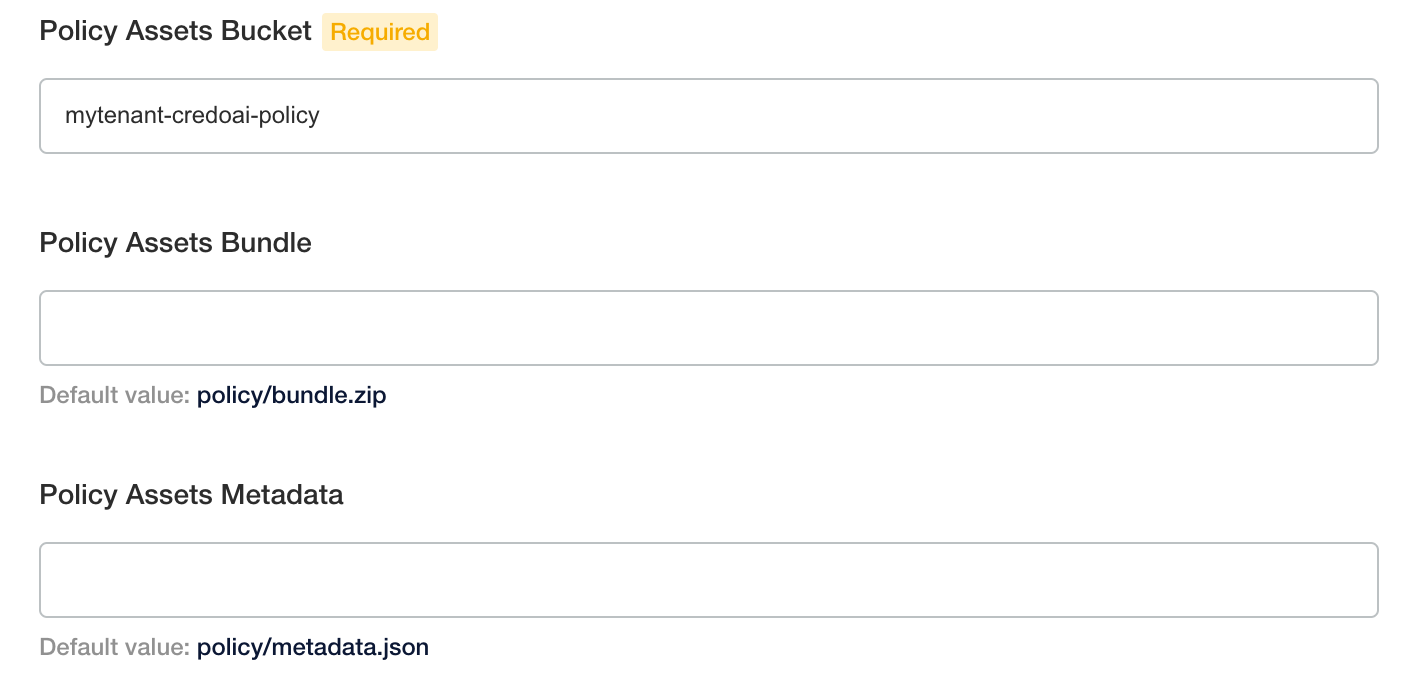
Object Store
Enter the names of the S3 bucket(s) provisioned for the Credo AI application. It is recommended to use different buckets but it is supported to use path prefixes in a common bucket.
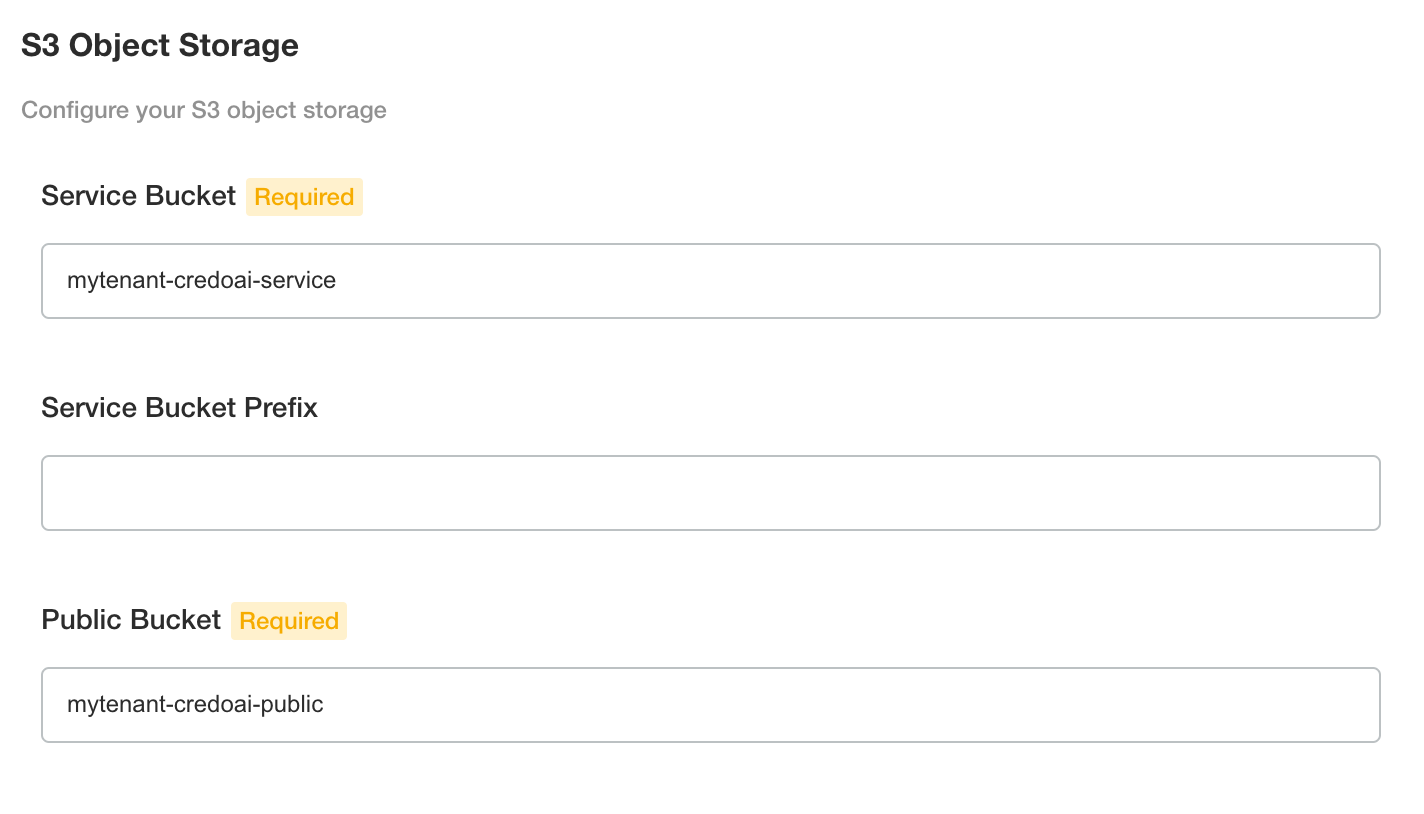
The policy assets support the policy pack feature of Credo AI. The defaults are OK to keep. You will provision these locations with the required metadata and policy pack archive later in the Policy Pack Management section.
If the S3 bucket(s) have a policy requiring SSE AES256 headers for object writes, select AES256. The default does not include headers which stores objects with the bucket configured encryption.

AWS S3 buckets are encrypted at rest by default. This setting is for supporting bucket policies required by the customer's organization.
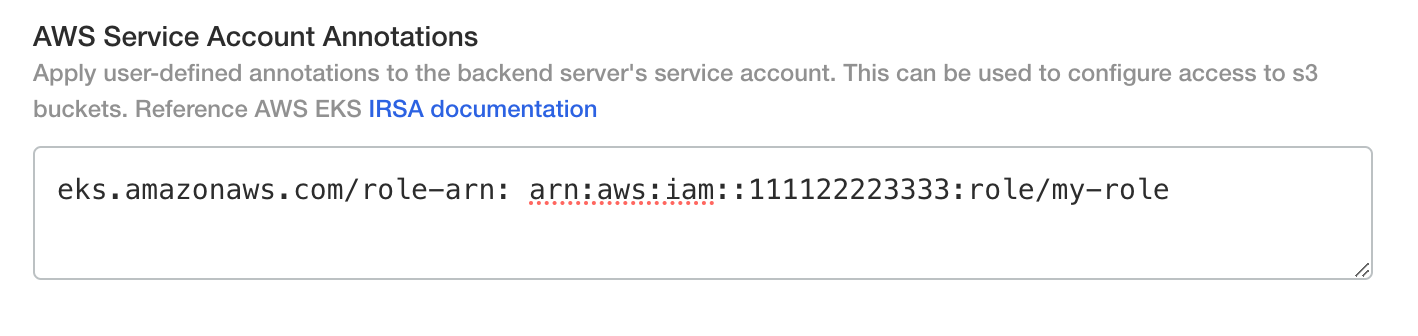
AWS Credentials
Configure the Credo AI application to use S3 object storage or equivalent.
If you are using IAM roles for service accounts (IRSA) enter the IRSA annotation.
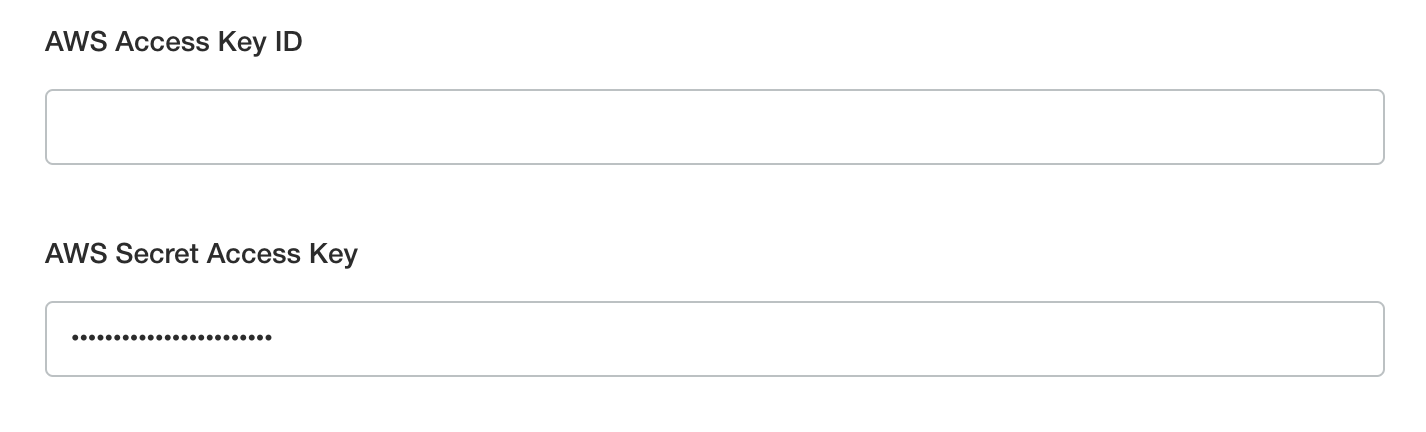
If you are using an AWS IAM user with key pair credentials or an S3-compliant alternative, select the checkbox and enter the access key id and secret access key.
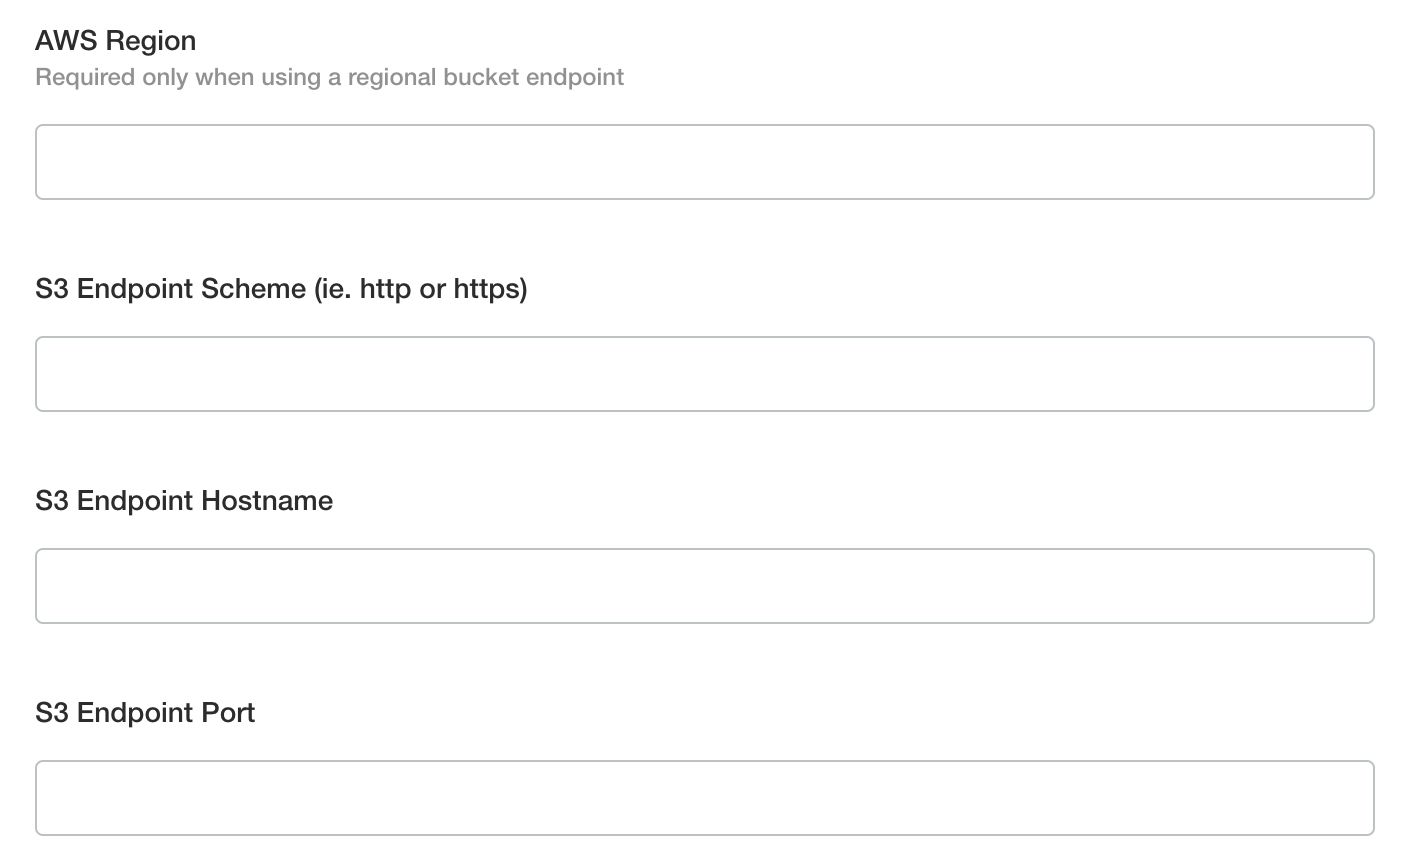
If you are using AWS S3 and not a compliant S3 alternative you can omit the S3 endpoint fields and only enter the AWS region.

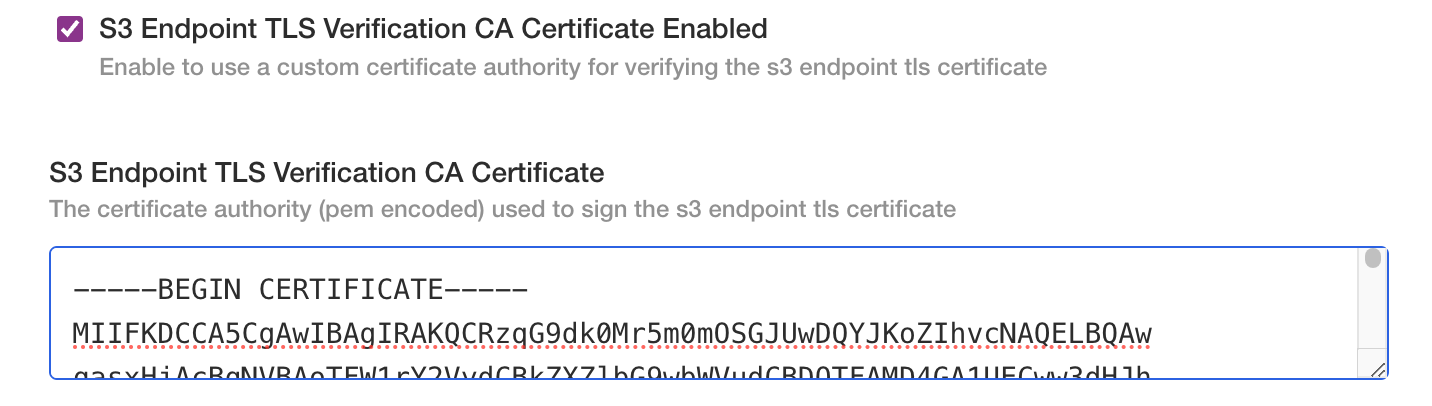
If you are using a private VPC S3 endpoint or an S3 alternative, enter the endpoint details.
If the custom endpoint is secured with a TLS certificate signed by a private certificate authority (CA) you can supply the CA certificate to ensure trust between the backend the the buckets endpoint.
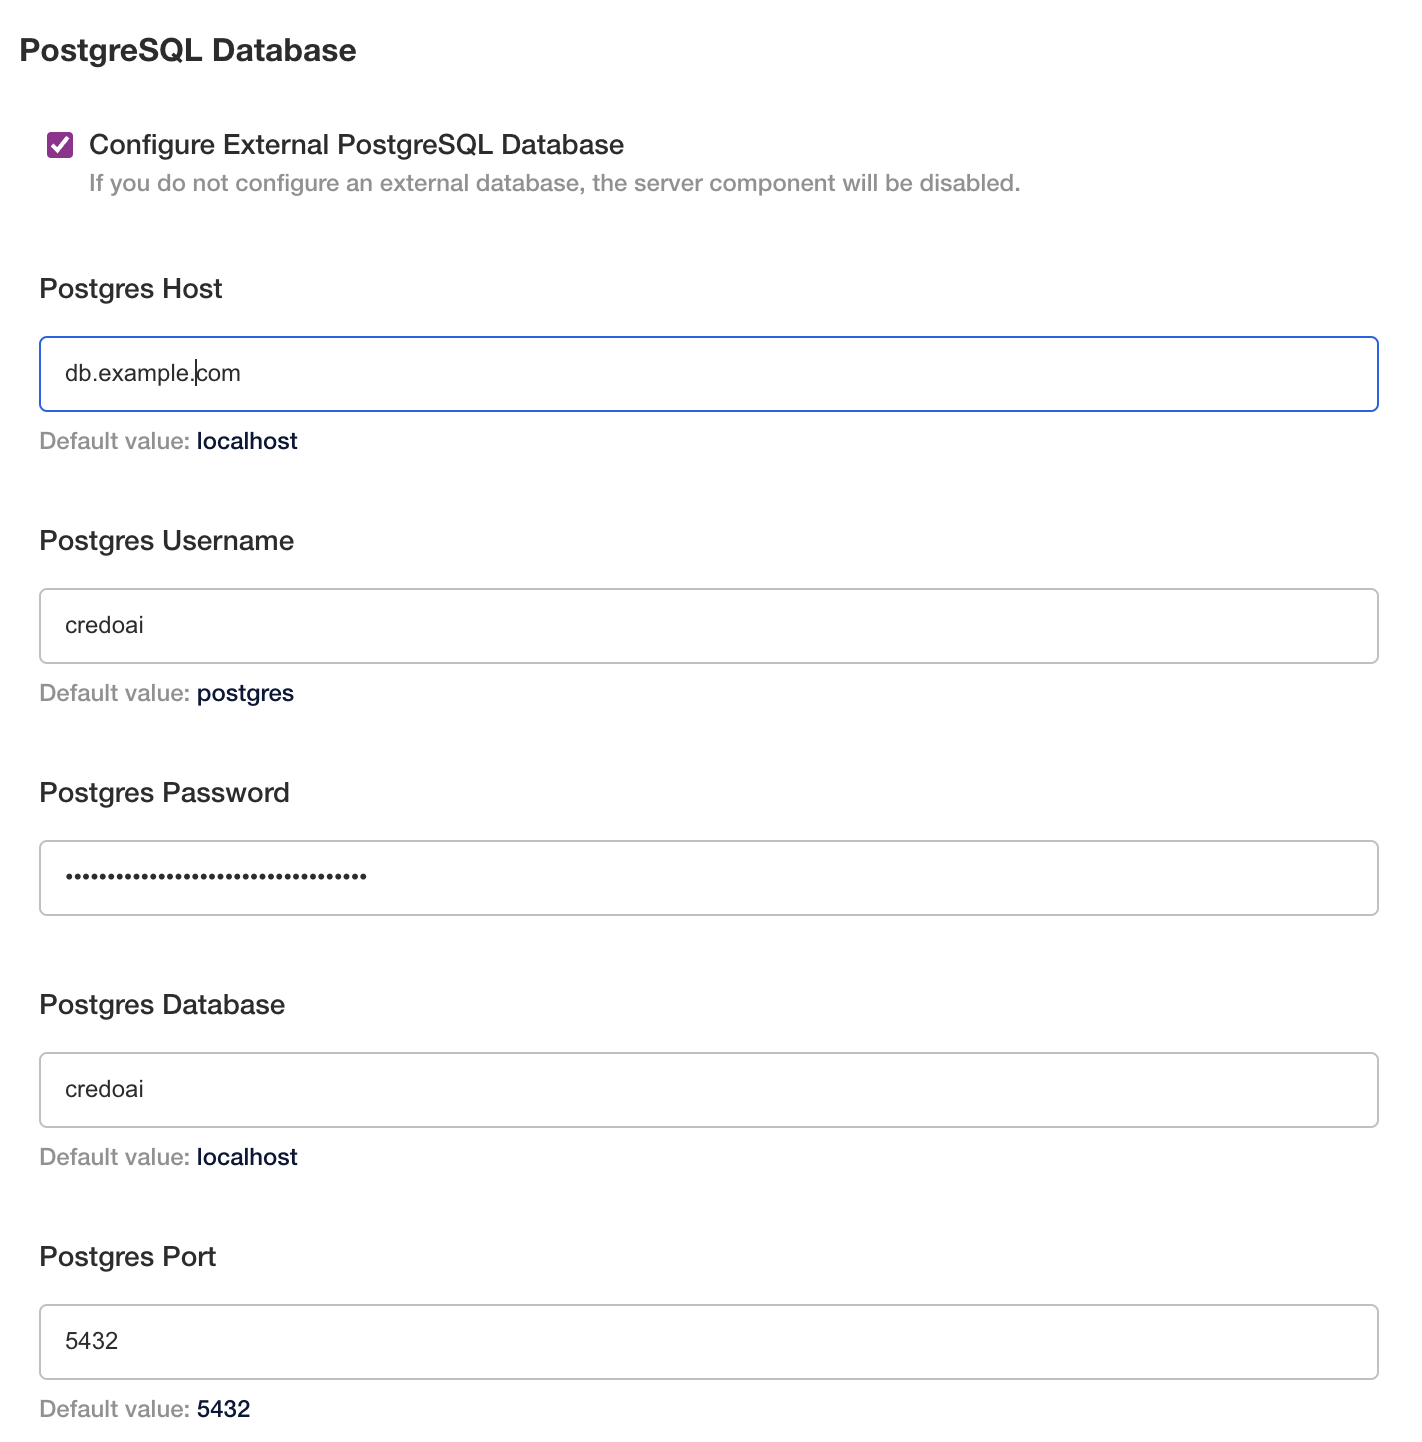
Configure Database
See the Postgres Database Setup Appendix for information on the required setup.
Click the checkbox and enter the connection details to the external postgres database
Configure SSO
Select the identity provider protocol and enter the appropriate details.
At this time, OIDC is supported natively. See the SSO with Okta OIDC in the appendix for comprehensive setup and configuration instructions.
Integrating with a SAML provider requires an adapter. The Credo AI installer includes dex IdP to serve as this adapter. See the SSO with Okta SAML in the appendix for comprehensive setup and configuration instructions.
Configure Email
Click the checkbox to enter SMTP server settings.

Both SMTP and Amazon SES (Simple Email Service) are supported. See the following subsections for their respective configuration in kots.
SMTP
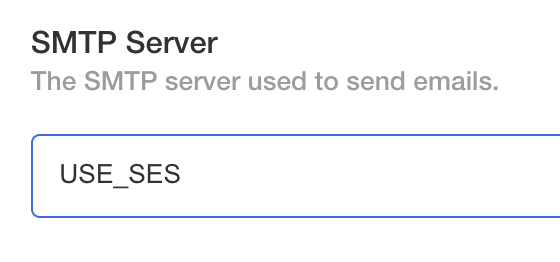
Set the SMTP Server to the server address of the SMTP service.

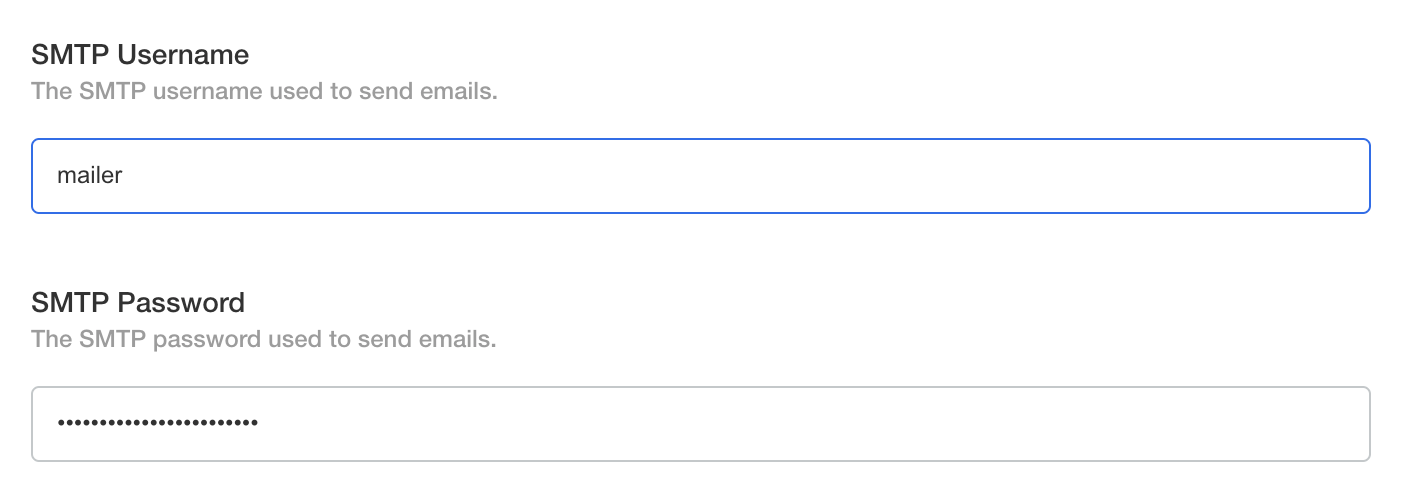
Set the SMTP Username and SMTP Password to the username and password for the SMTP server.
Set the SMTP Port if necessary. The default is 587 which is for STARTTLS.

SES
The server supports configuring authentication to SES with static IAM user credentials or by using a privileged CredoAI server service account.
Set the SMTP Server to the USE_SES.
If using IAM user credentials, set the SMTP Username and SMTP Password to the AWS_ACCESS_KEY_ID and AWS_SECRET_ACCESS_KEY.
If using IRSA or pod identity, omit these fields and ensure the IAM role is configured correctly. See aws credentials for more information.
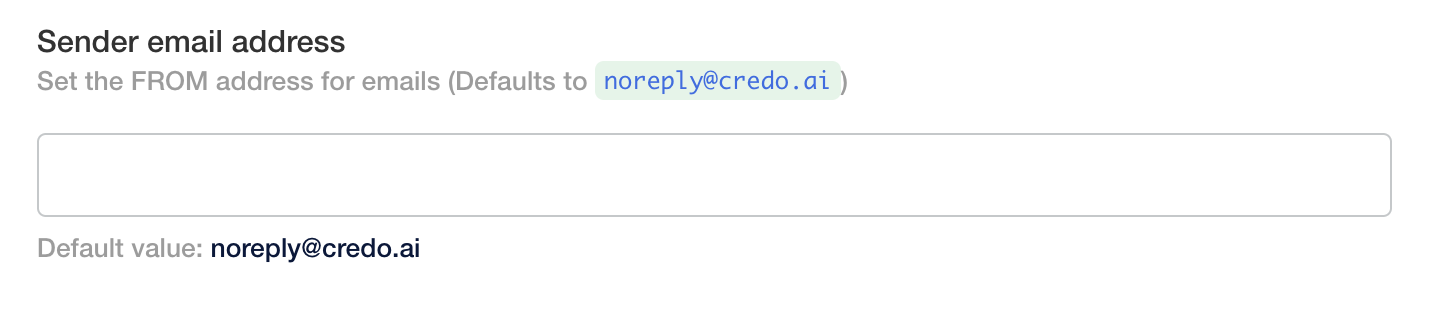
Common
Ensure the sender email address is an allowed address in your email server configuration otherwise emails may not be delivered as expected.
Ensure the sender email address has been verified by SES. Refer to the AWS SES Documentation for more details.
Set the Sender Email Address to the address you want emails to be sent from. The default is noreply@credo.ai.
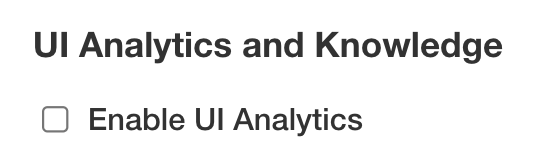
Frontend UI Analytics and Help
If you would like to opt-in to UI analytics, select the Enable UI Analytics box.
If you would like to enable in-app help, make sure the Enable Usetiful for Guided Tours and Knowledge Base is selected.

The in-app help and tour functionality requires some configuration on the Credo AI side. Please contact your customer success representative and provide the hostname or domain name of your instance so we can allow it to use the service.
Post-Config Preflight
After configuration is validated, you will see a cluster preflight screen with status.
Deployed
The application is now deployed and can be visited at the hostname configured for the application, in this example https://credoai.example.com.
Post-Installation Tenant Setup
At this time the Credo AI kots installer configuration screen does not support automatic tenant creation. Please see the appendix tenant creation