SSO with Okta OIDC
To begin configuring SSO with Okta OIDC, first ensure you have an Okta SPA and custom authorization server set up. This guide will show you a functioning setup that you may customize for your organization.
Okta SPA
Setup
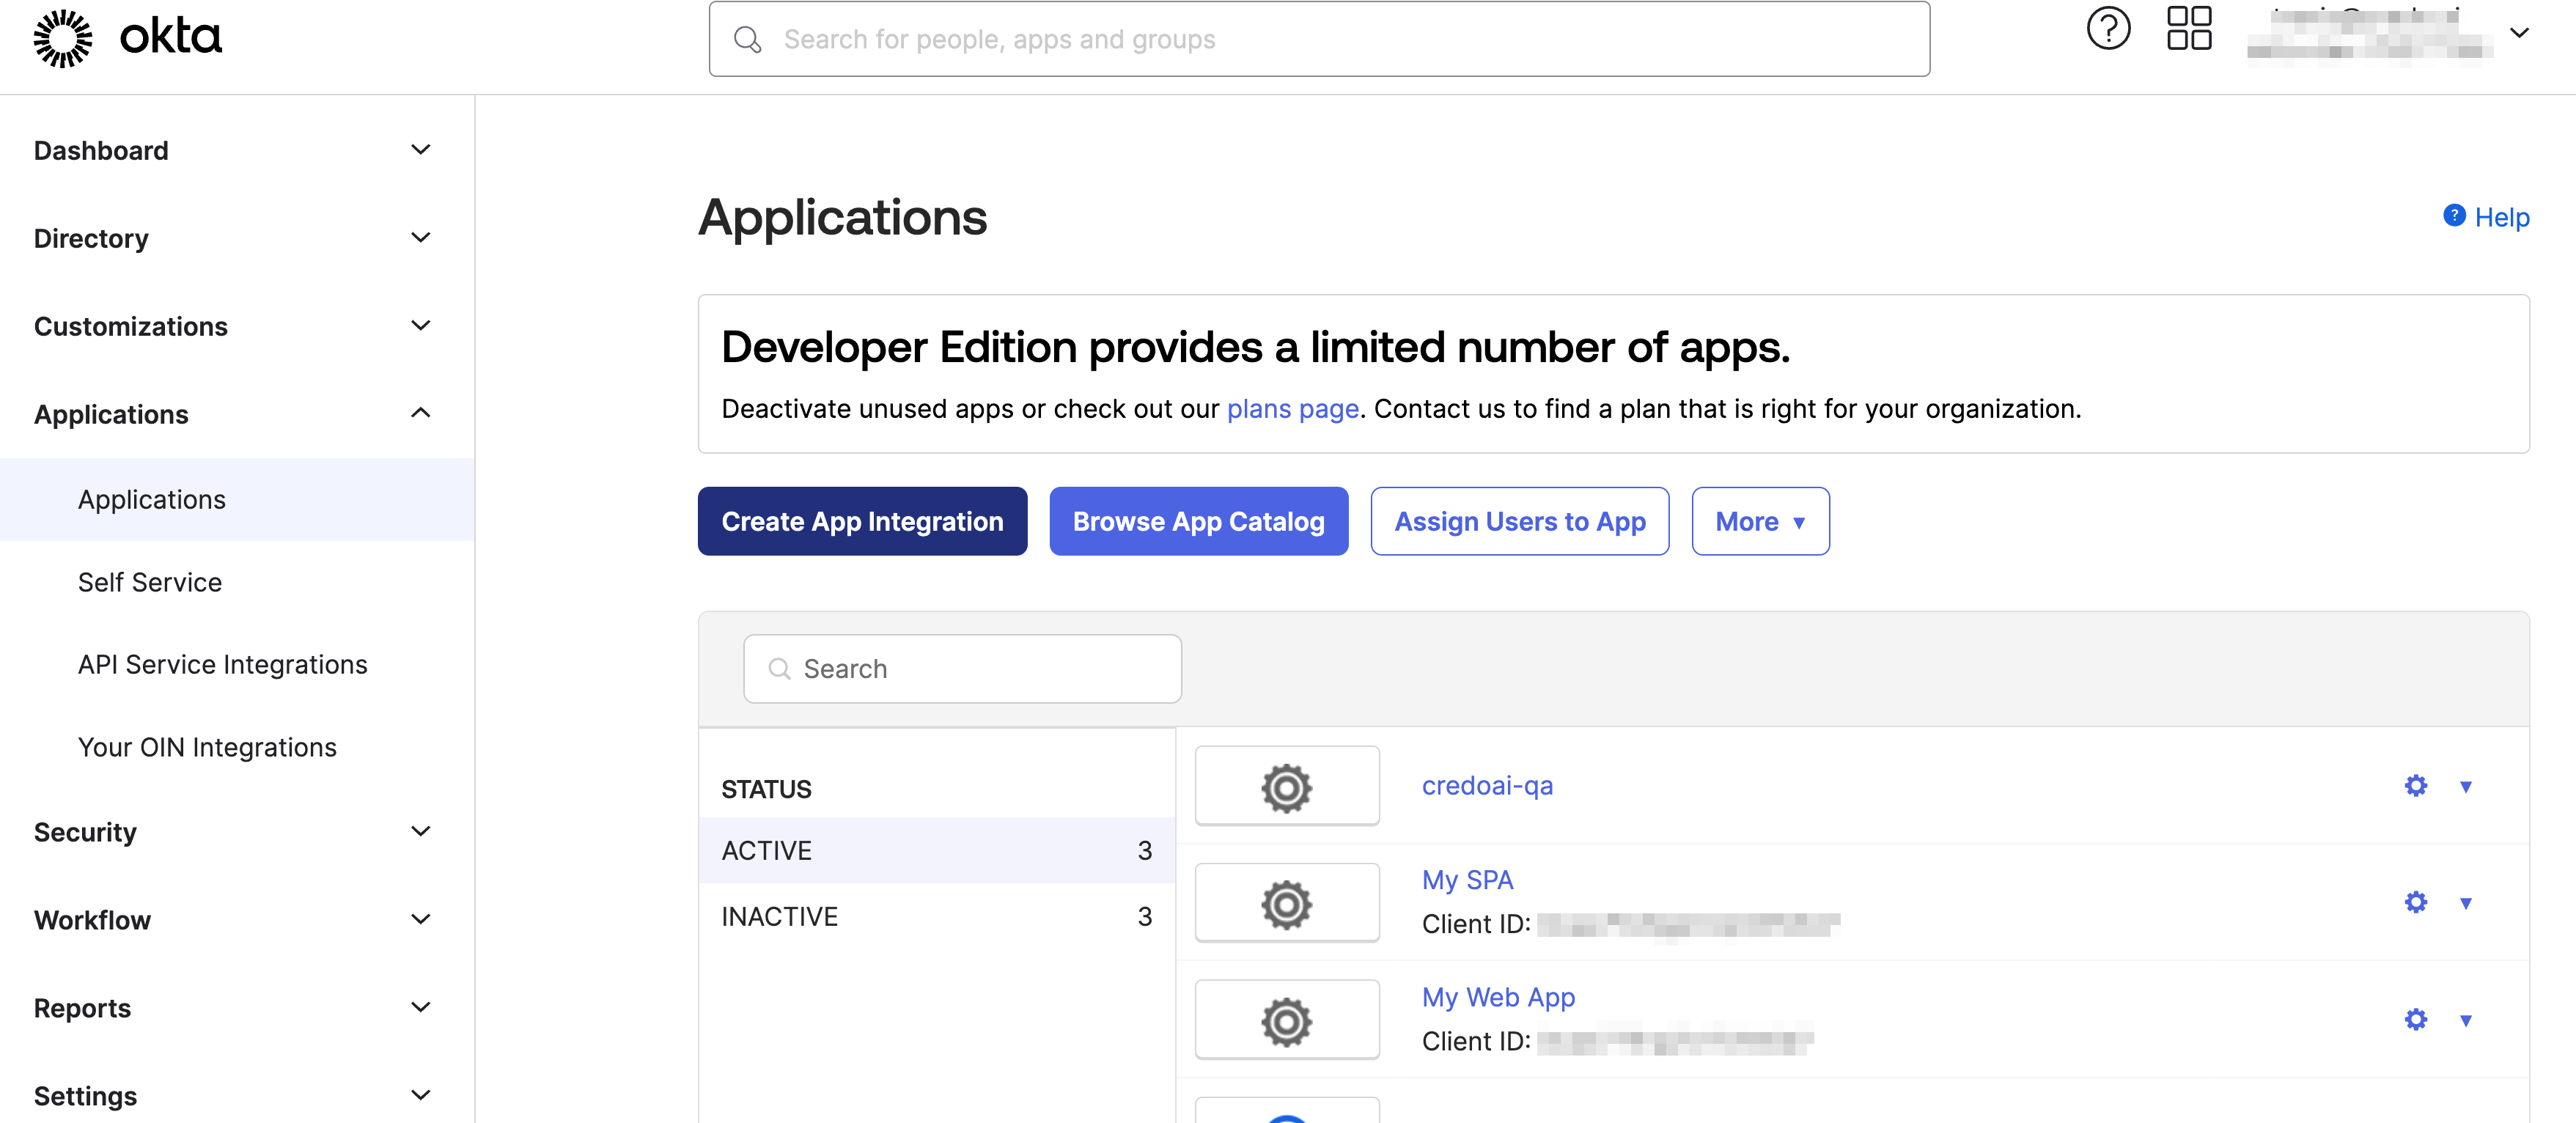
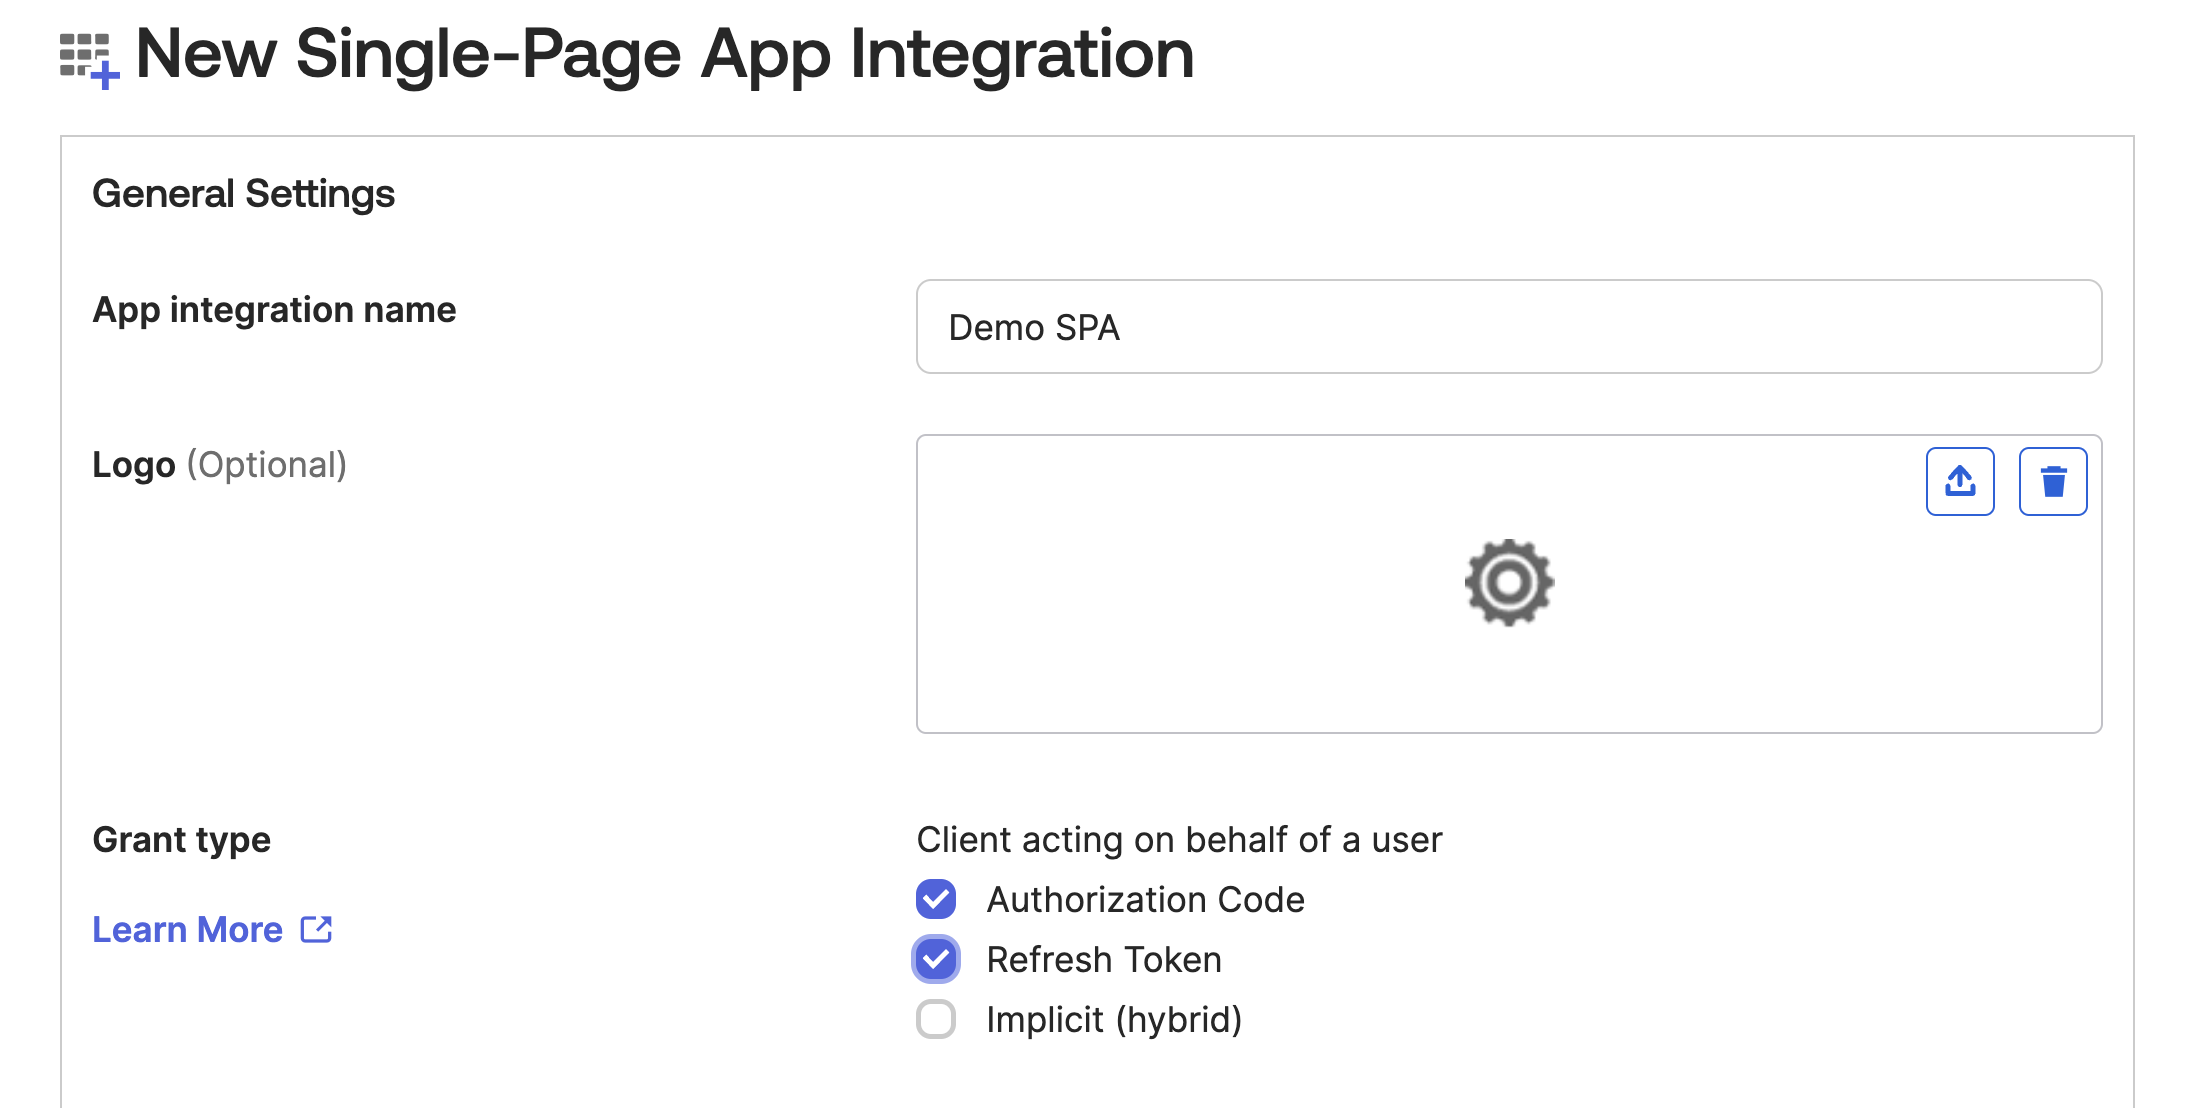
Create a new Okta app integration
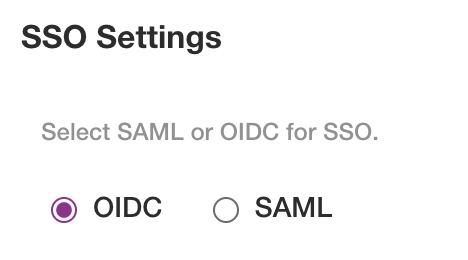
Select OIDC - OpenID Connect type
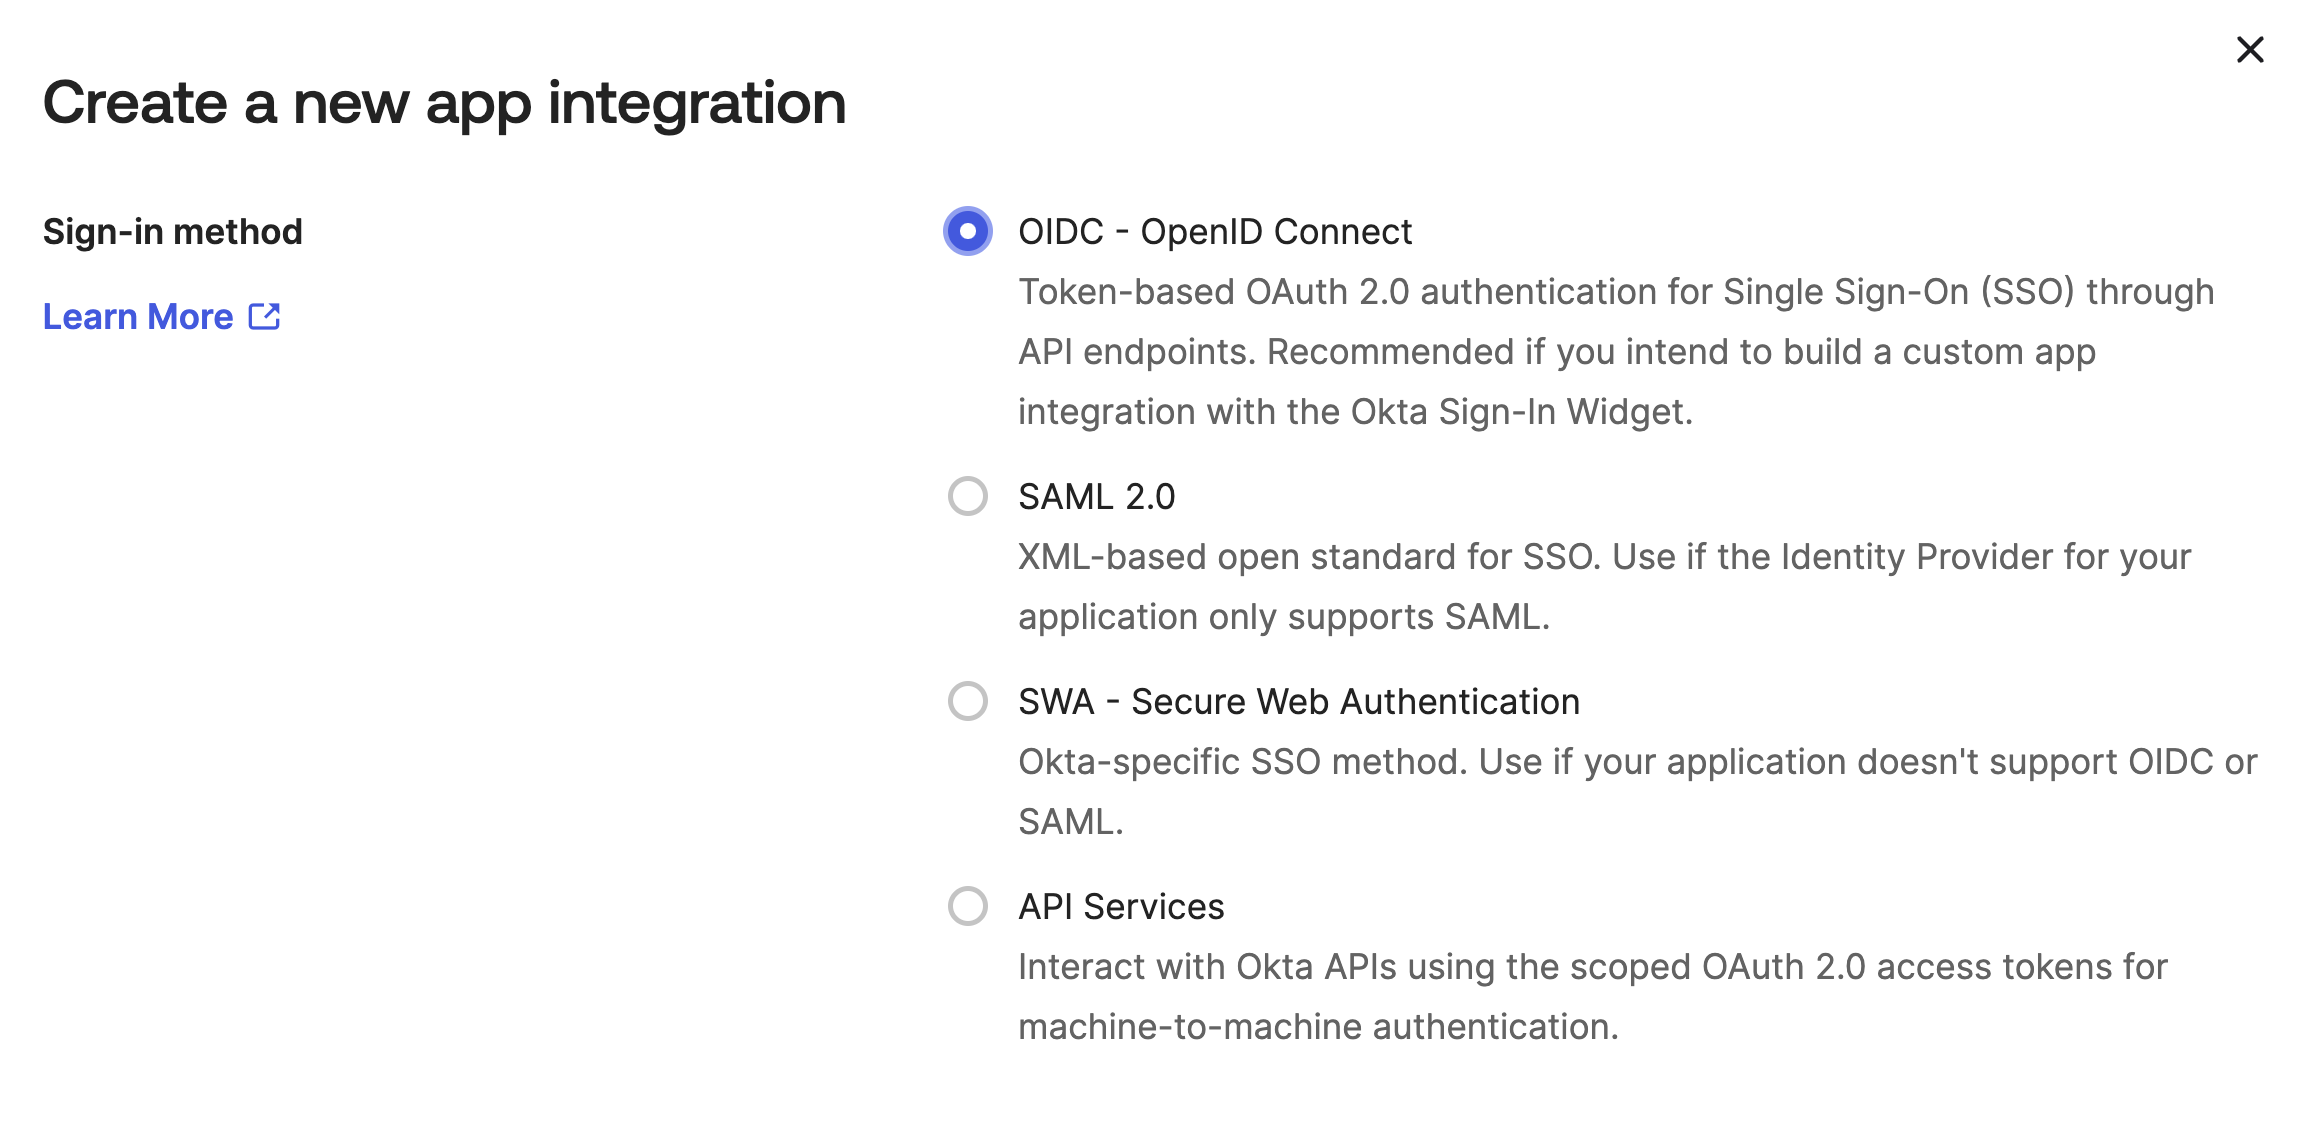
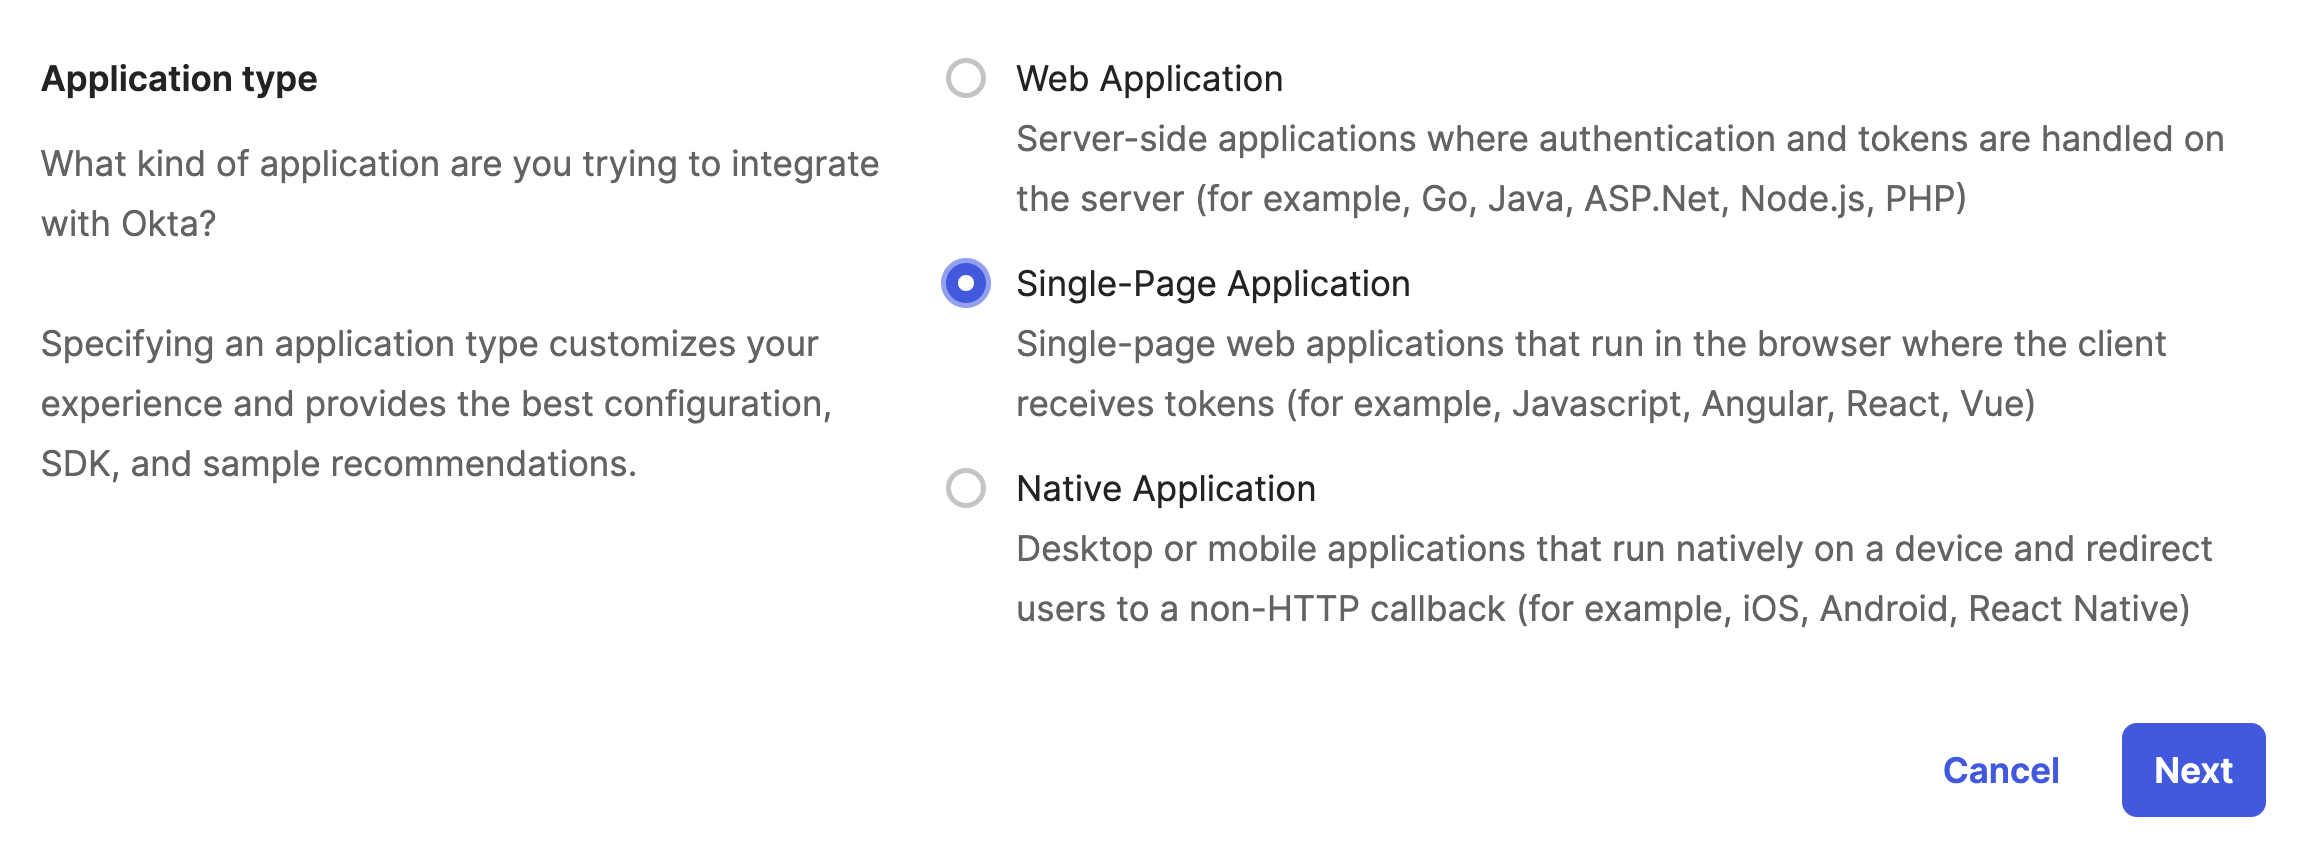
Select a Single Page Application which is also known as a SPA.
Give the SPA a name and a grant types of Authorization Code and Refresh Token
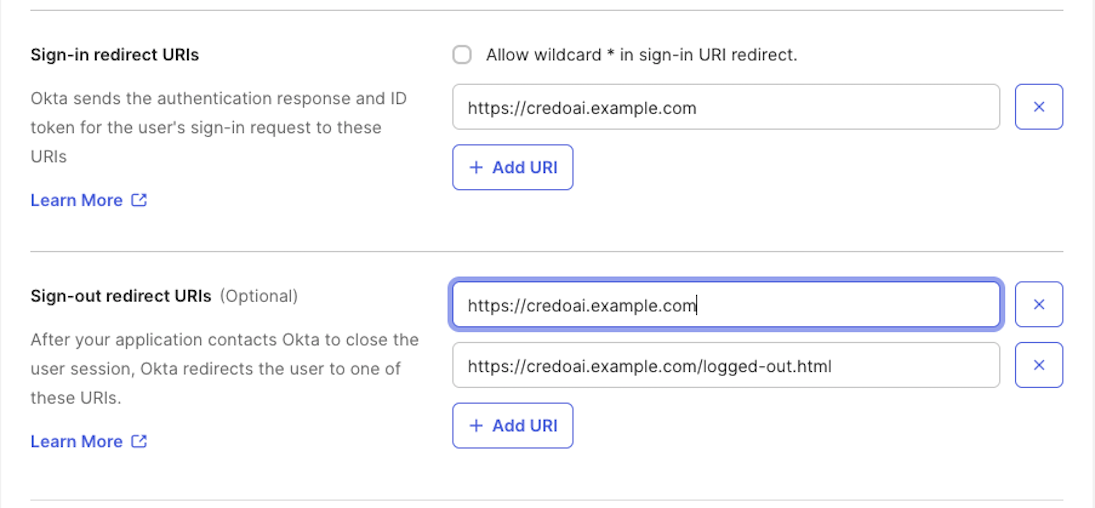
Configure the redirect URIs using the designated hostname for your self-hosted Credo AI application:
Sign-in redirect URIs: Add the base hostname
- Example:
https://credoai.example.com
Sign-out redirect URIs: Add the following (use the "+ Add URI" button to add the second entry)
https://credoai.example.com/https://credoai.example.com/logged-out.html
Set the user access according to your organization policy.
Exports
After you create the SPA, retrieve the client id for later app config

Okta Custom Authorization Server
The Credo AI application requires an authorization server to verify access tokens. We recommend creating a new one dedicated to the CredoAI application.
New Custom Auth Server Setup
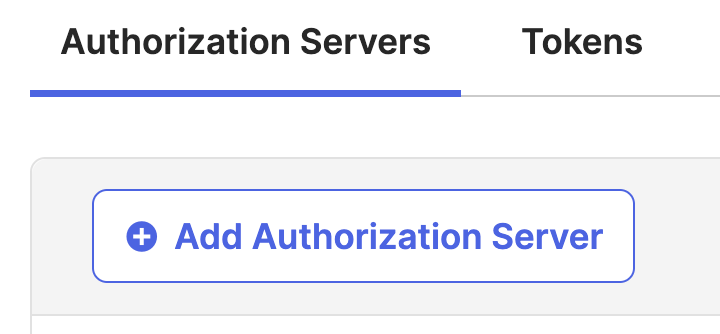
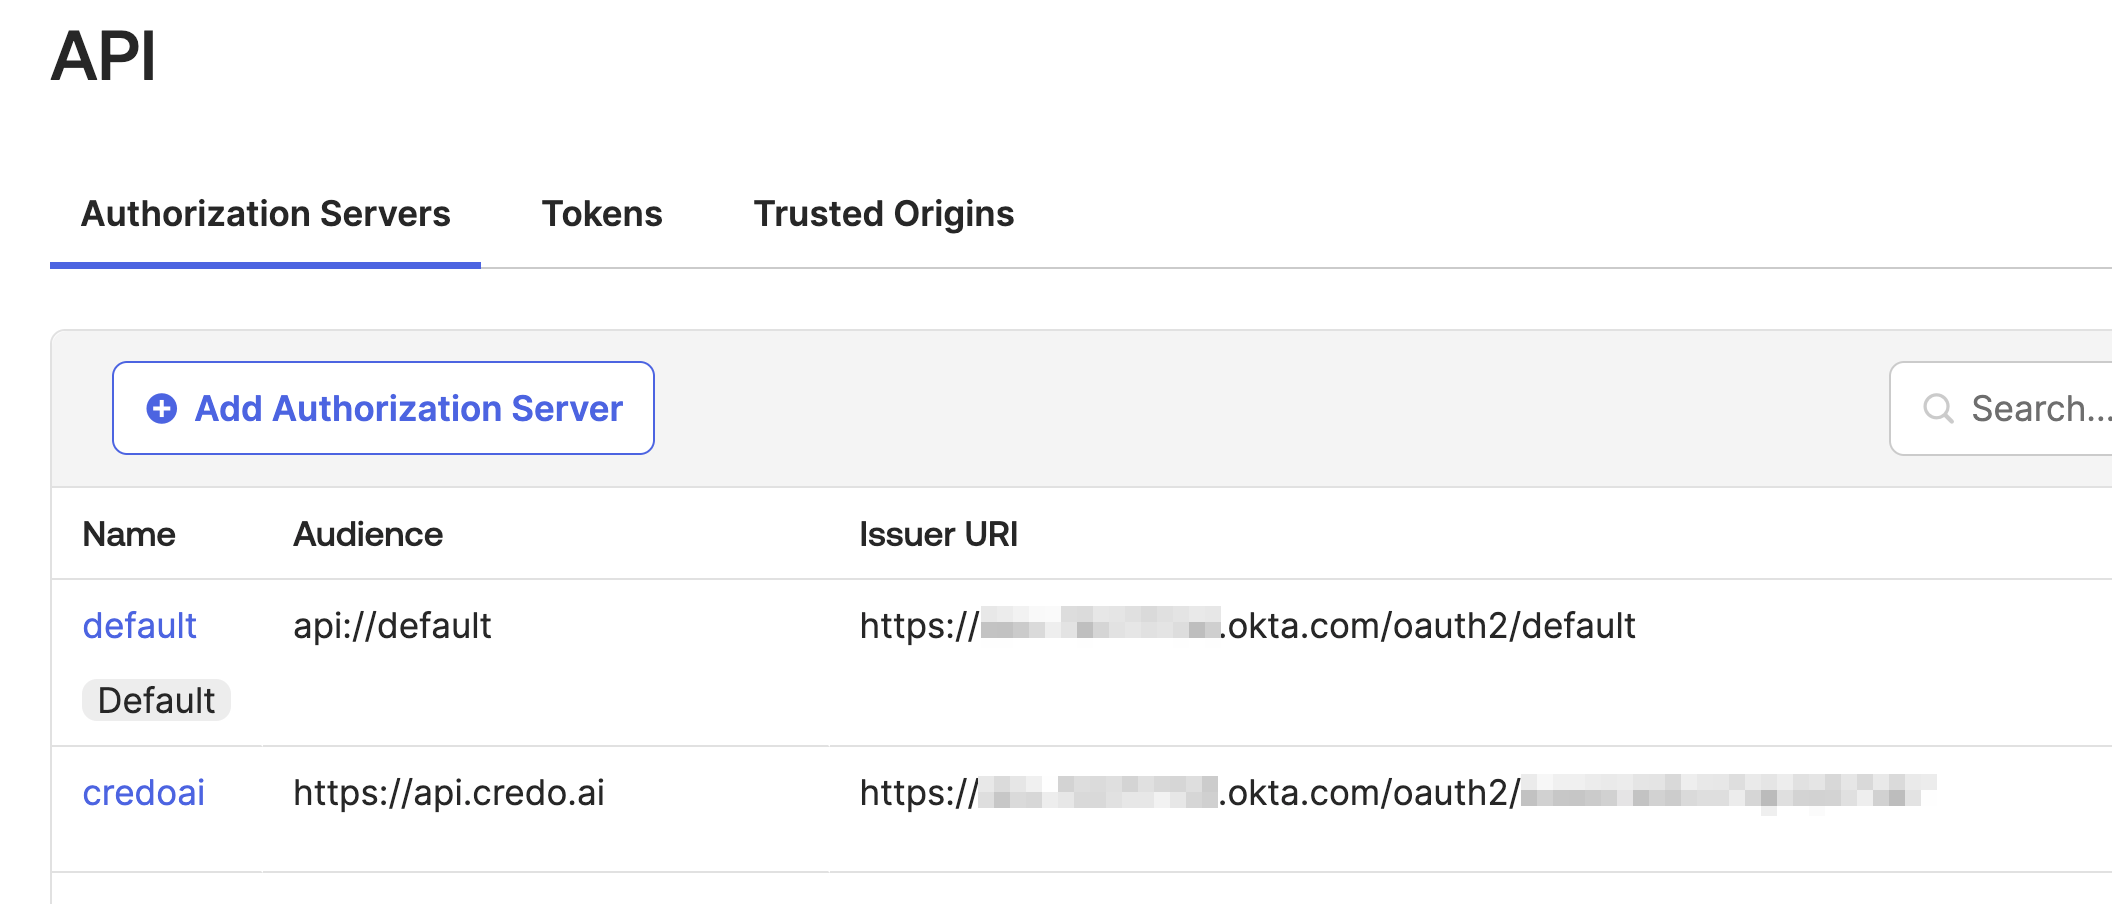
Add a new authorization server.
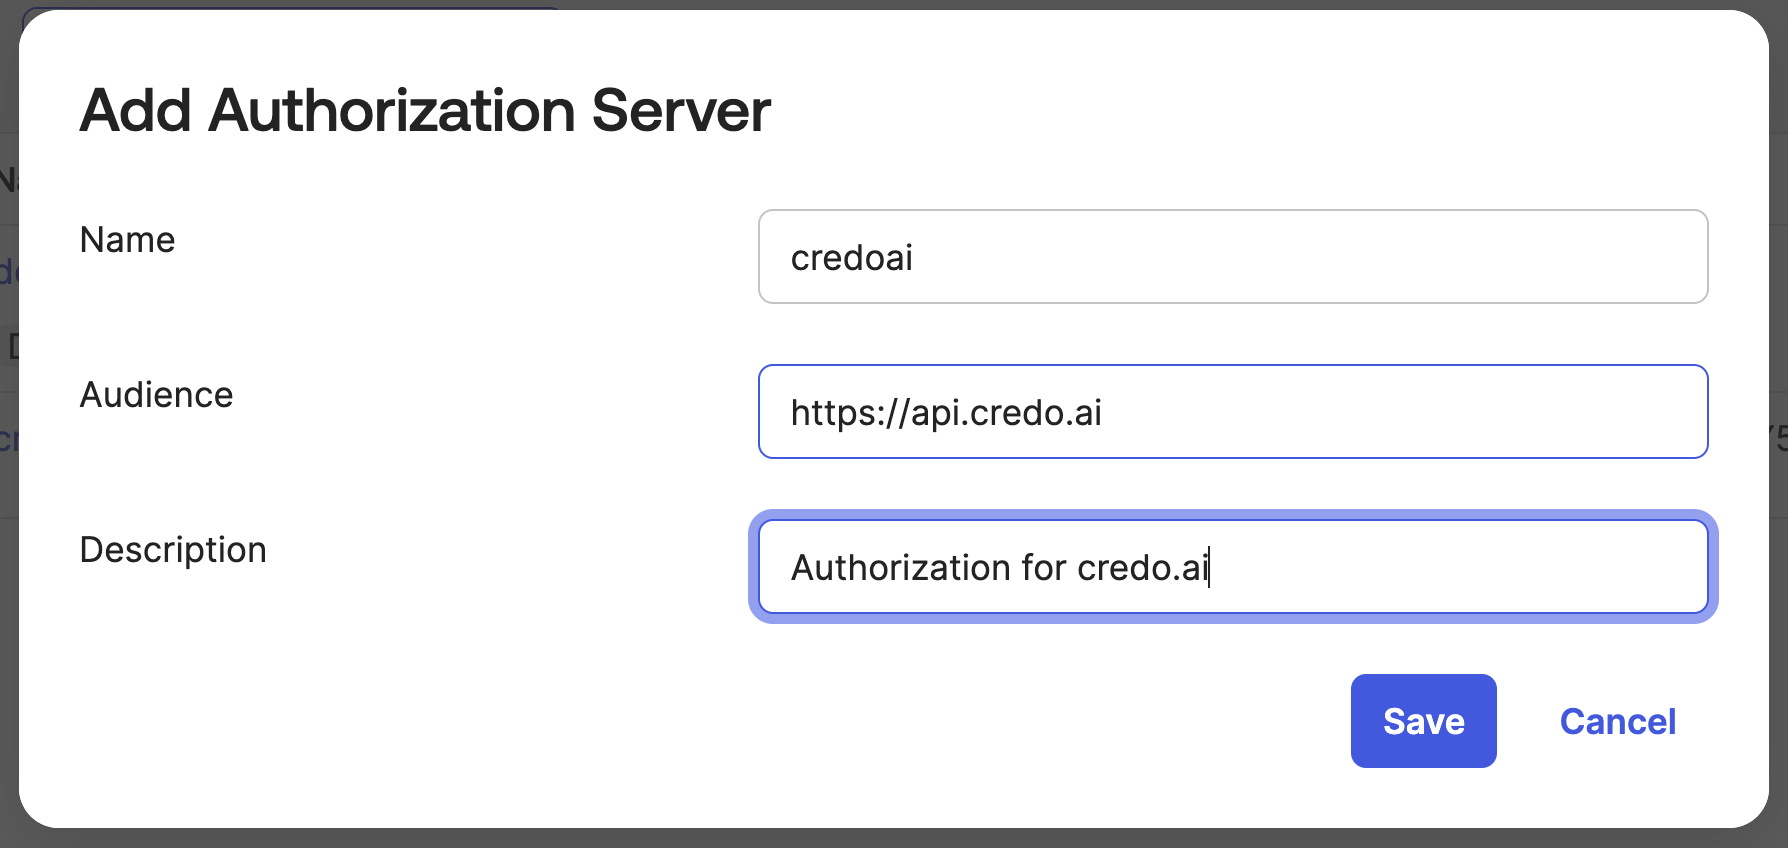
Fill in a name and audience. In this example we are using credoai and https://api.credo.ai.
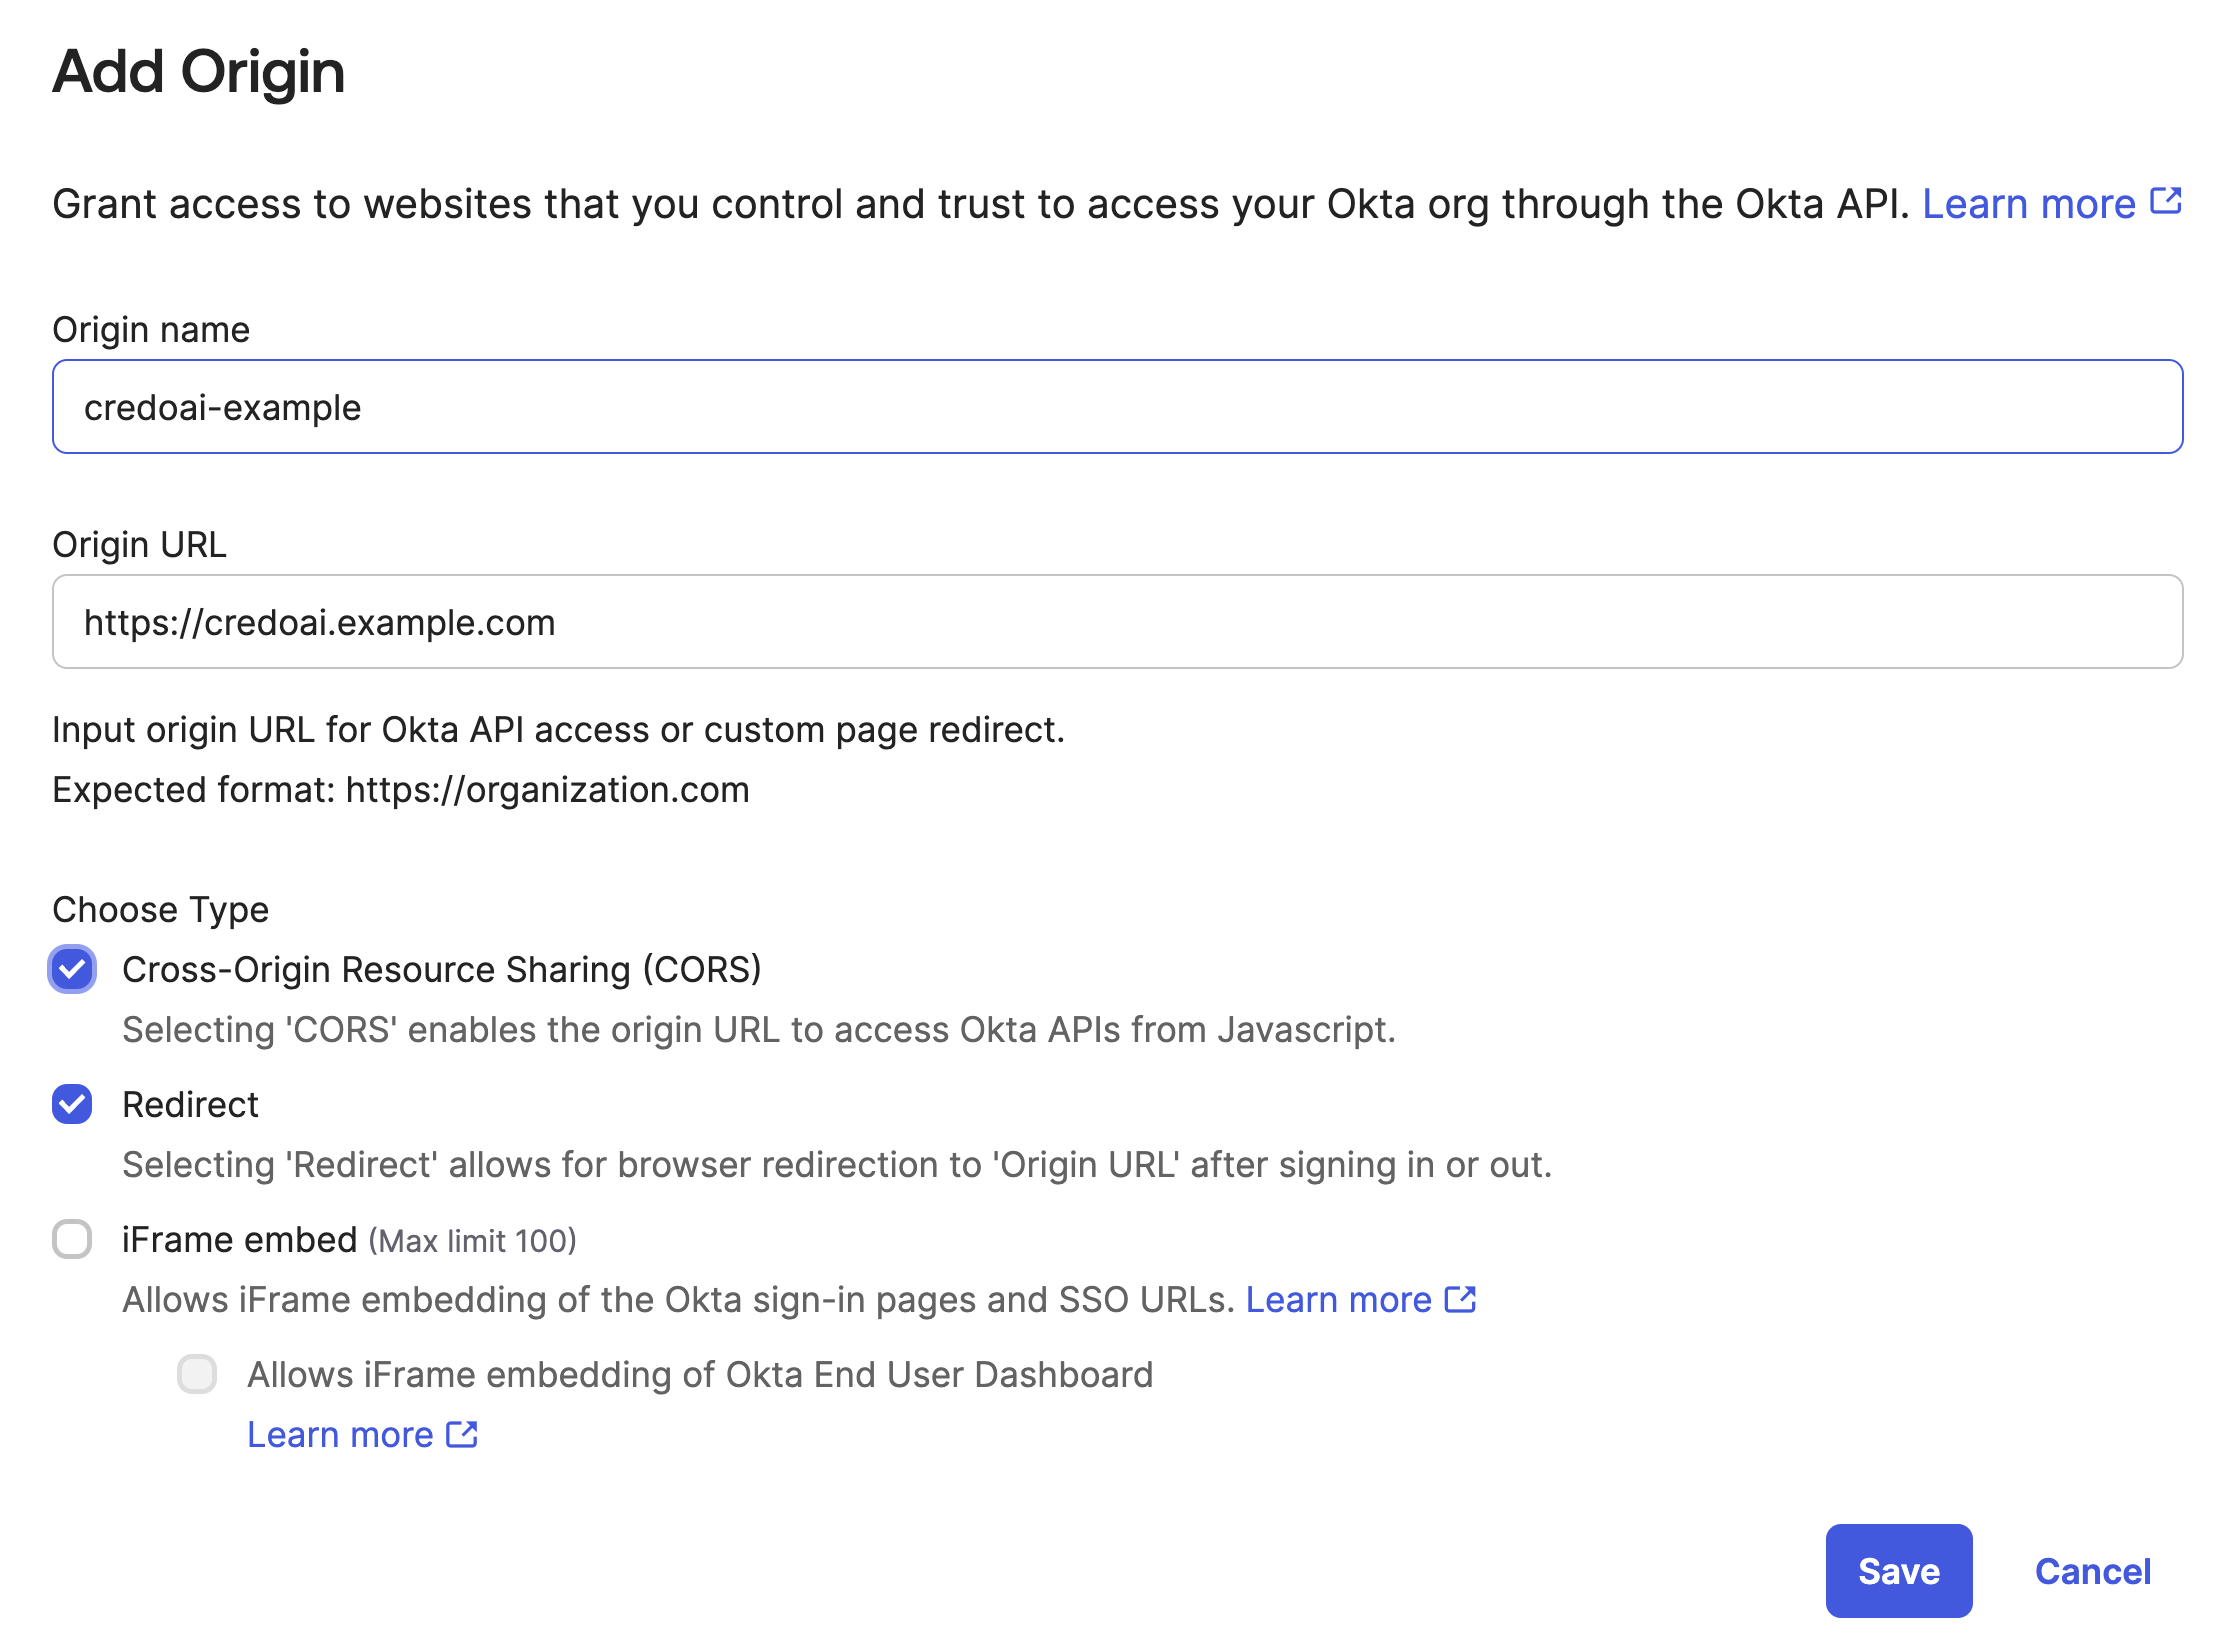
Configure Trusted Origins.

Use the designated hostname of the self-hosted Credo AI application for Origin URL.
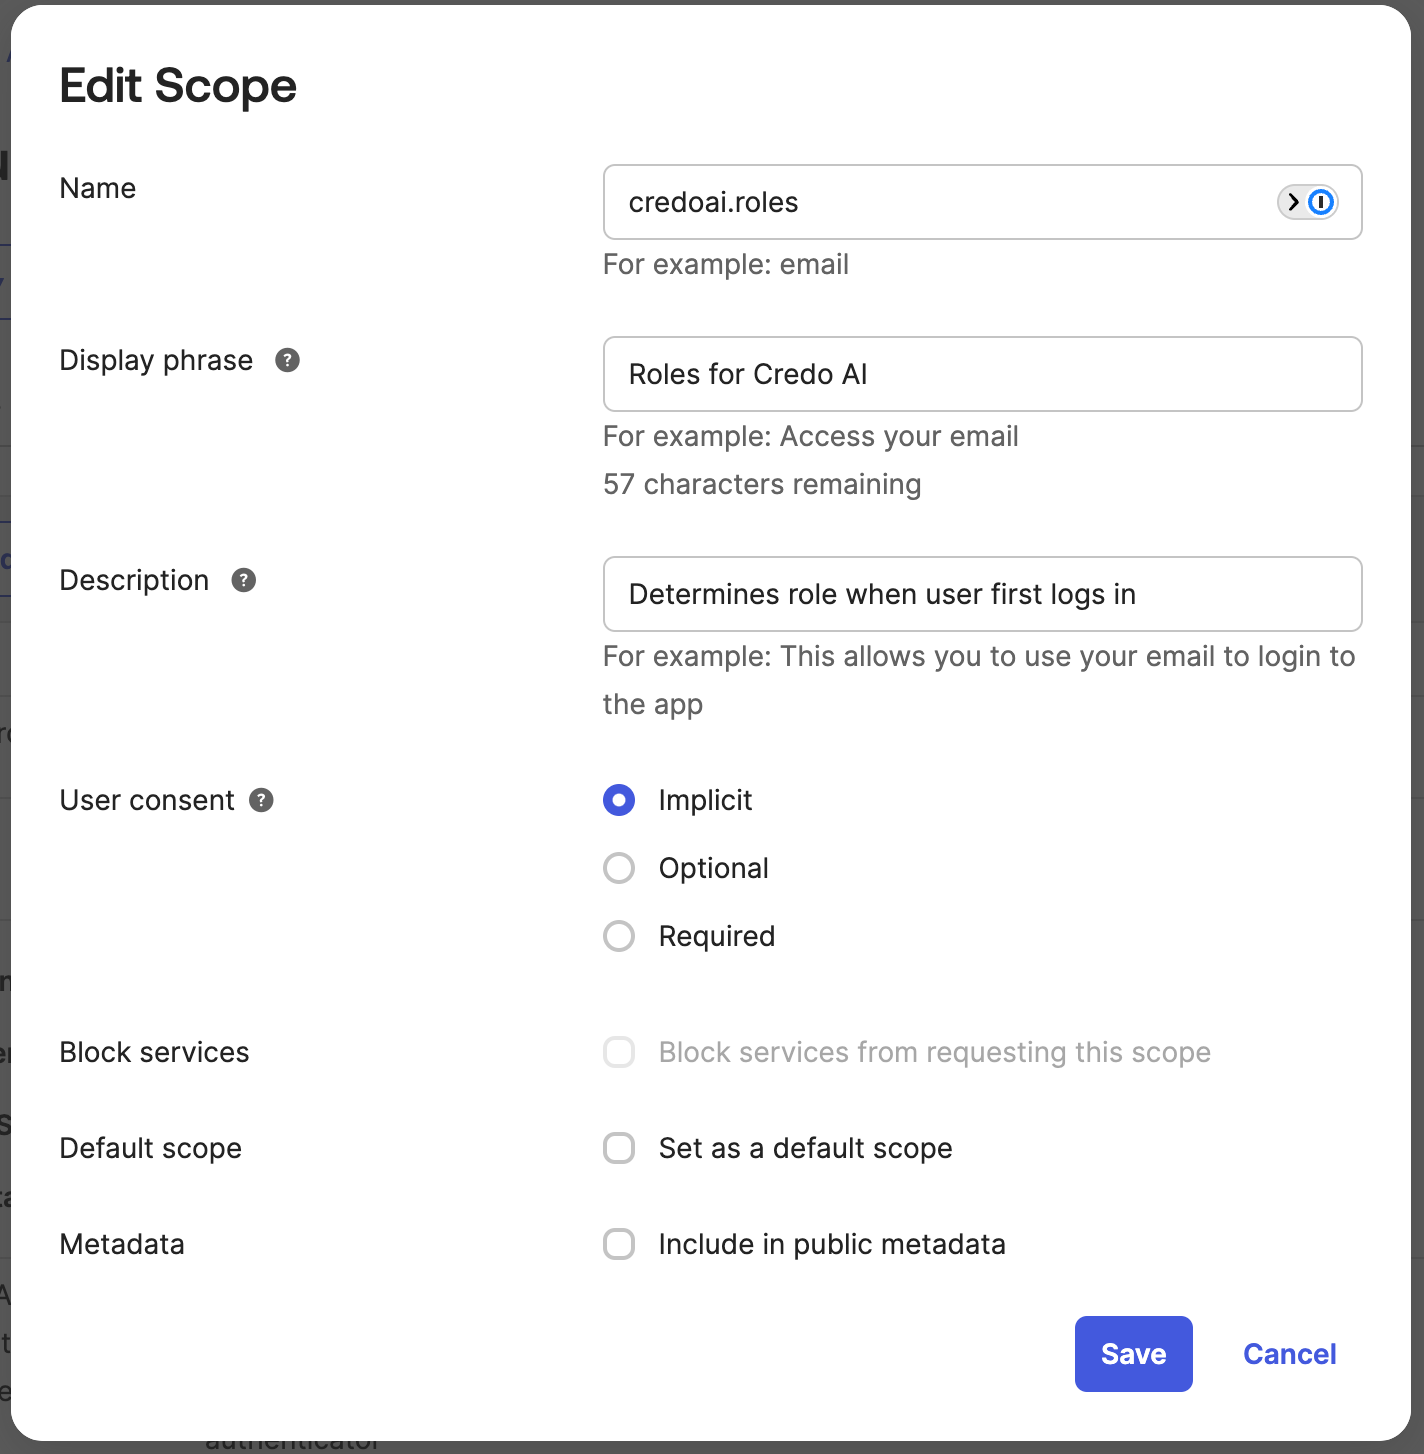
Add the credoai.roles scope
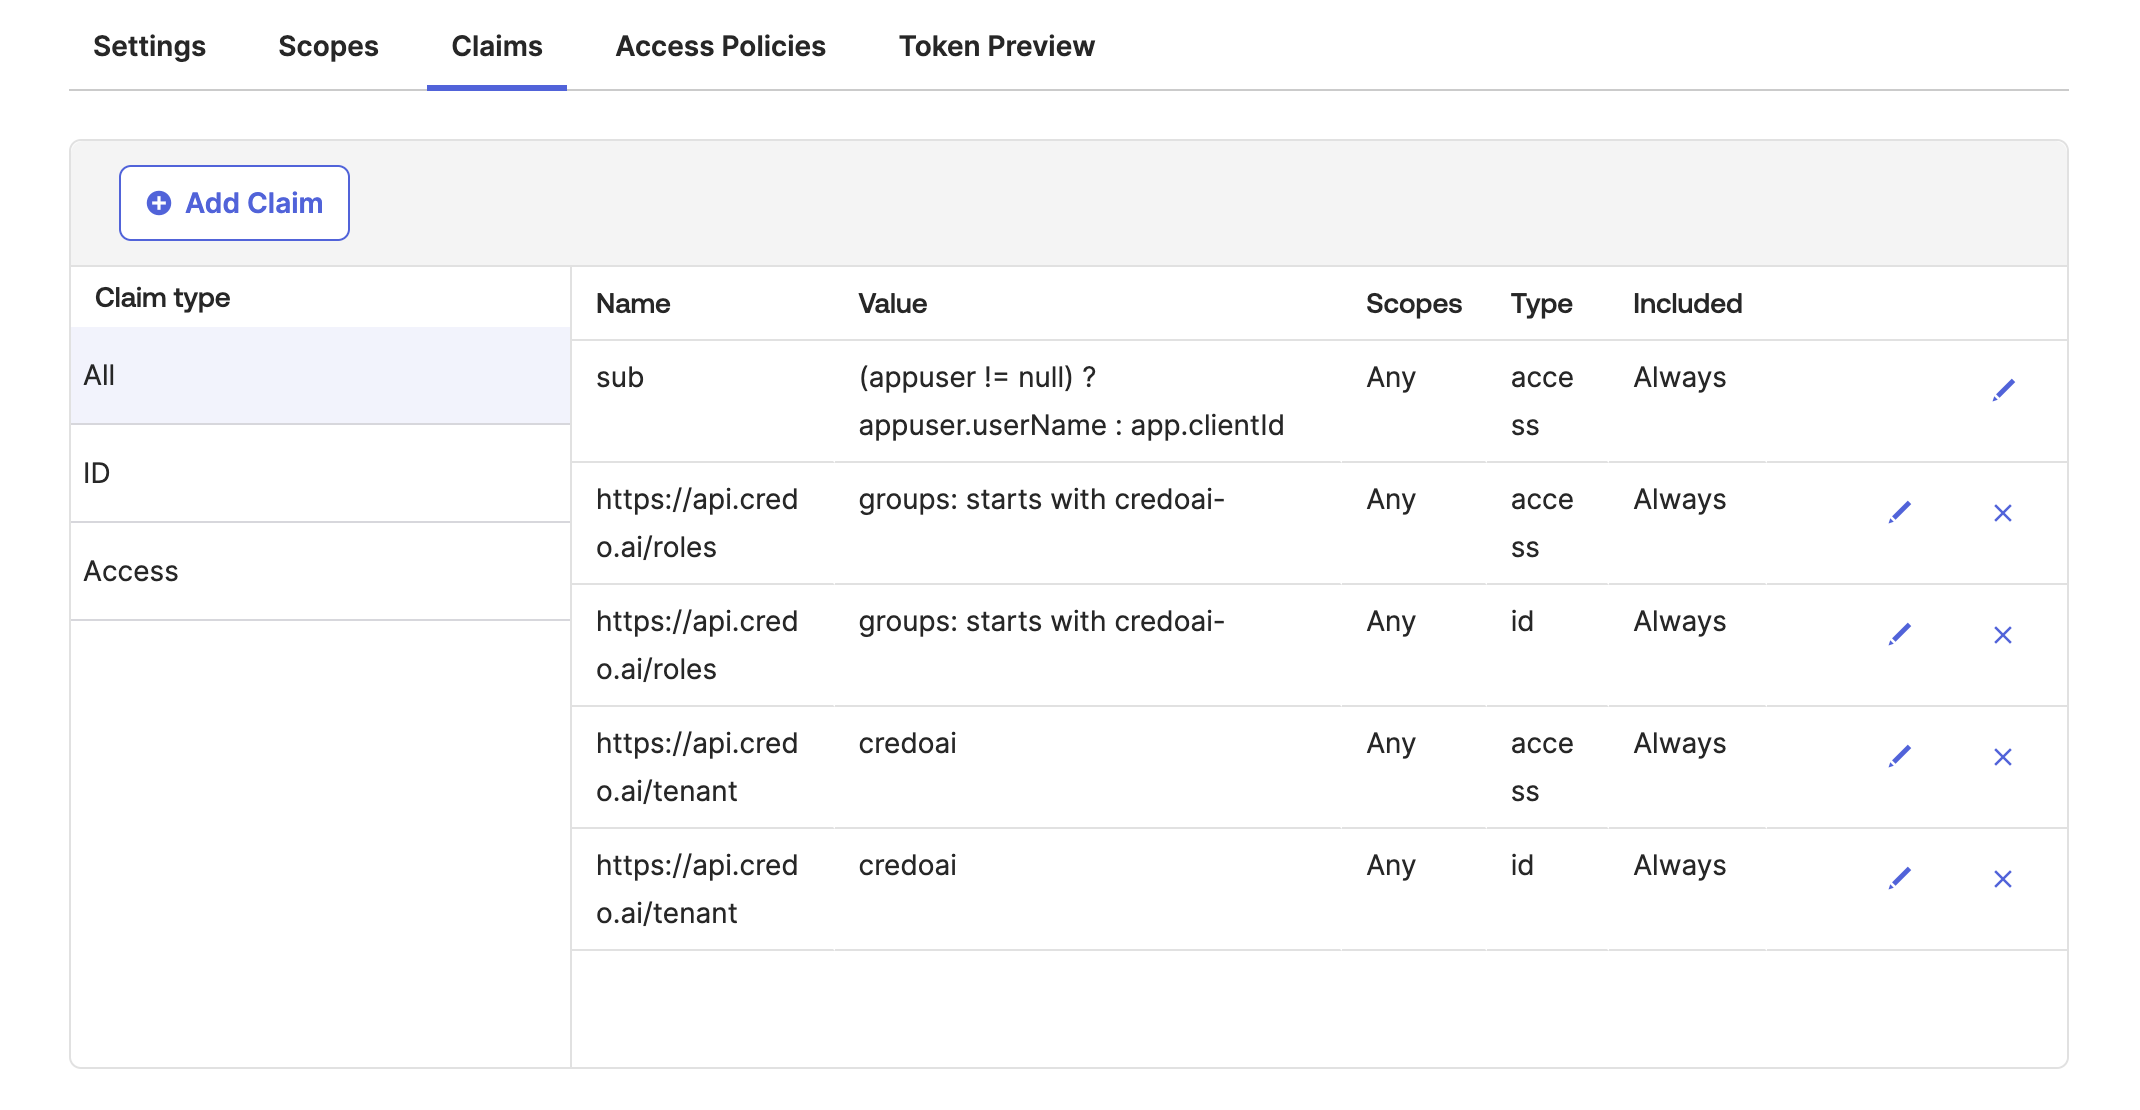
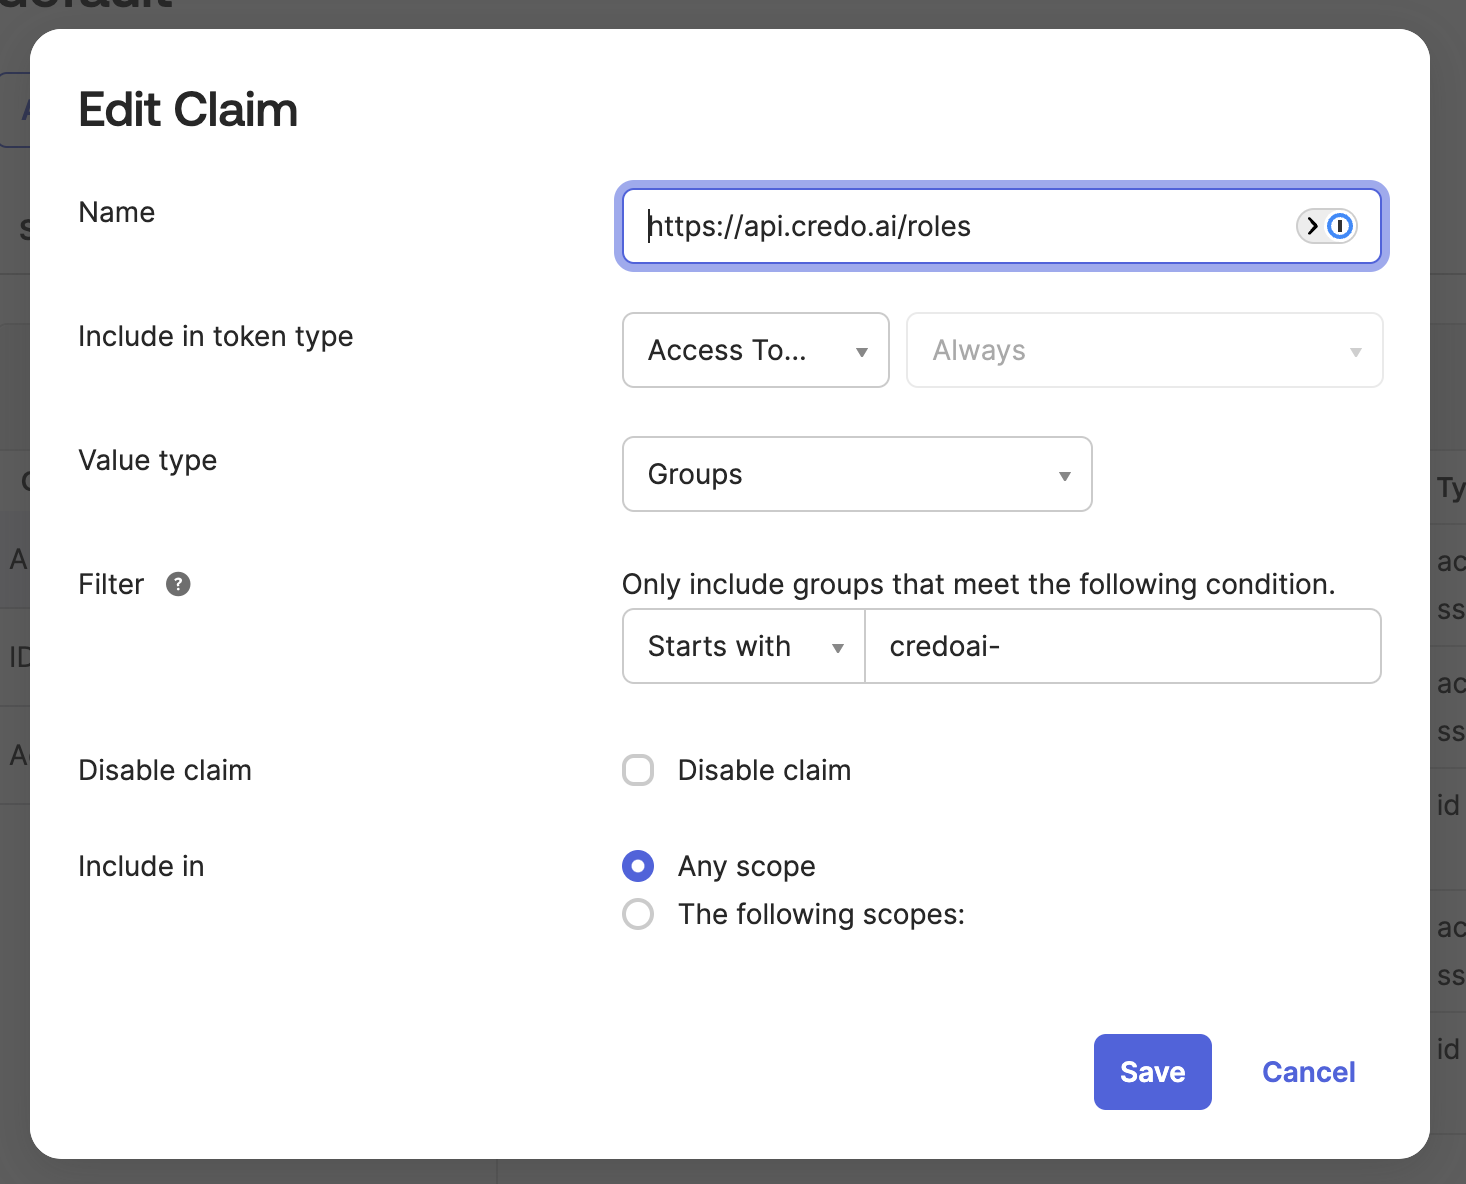
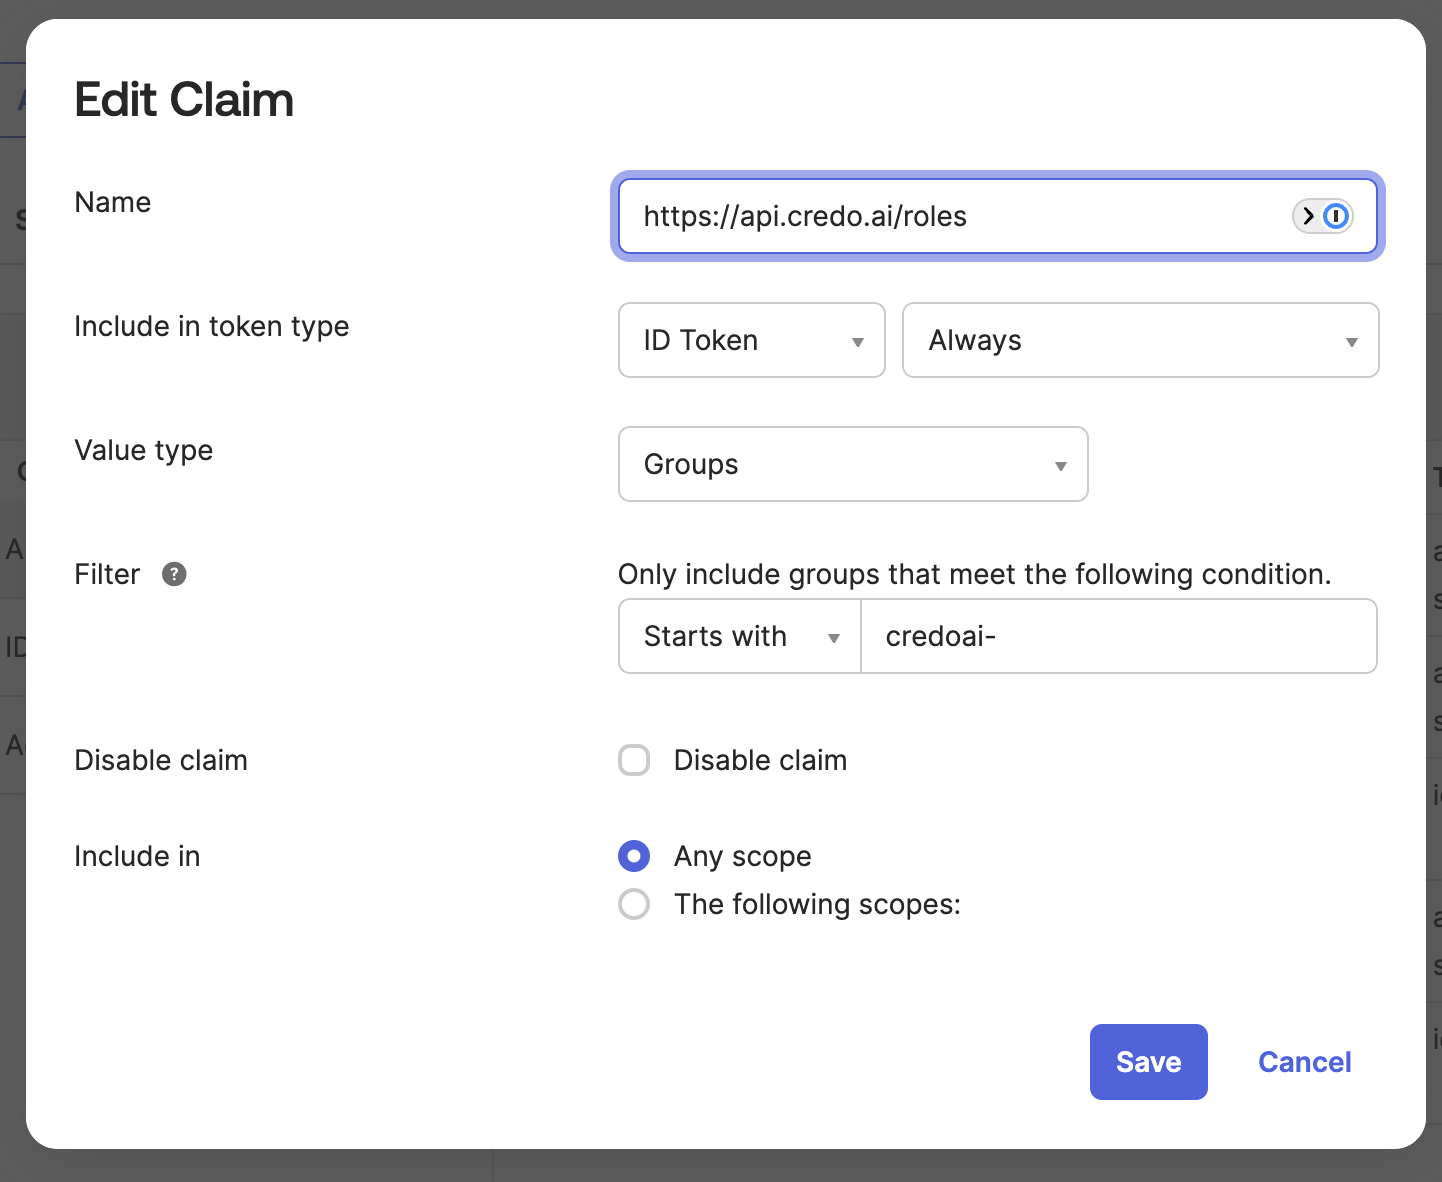
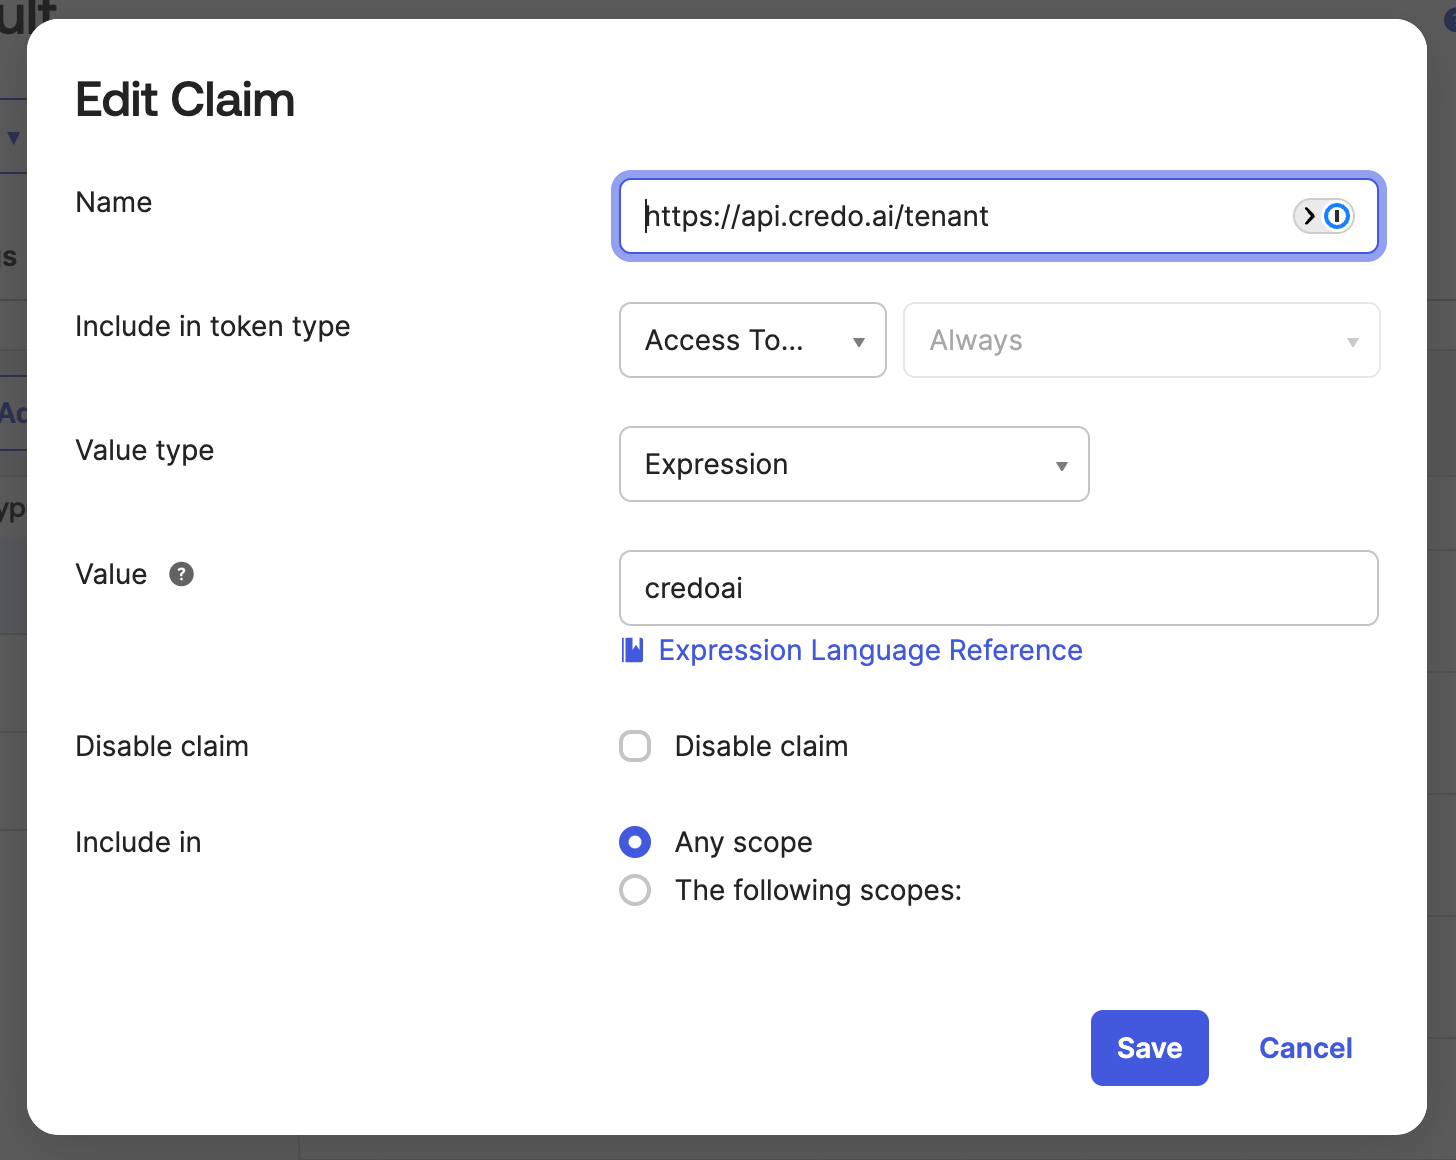
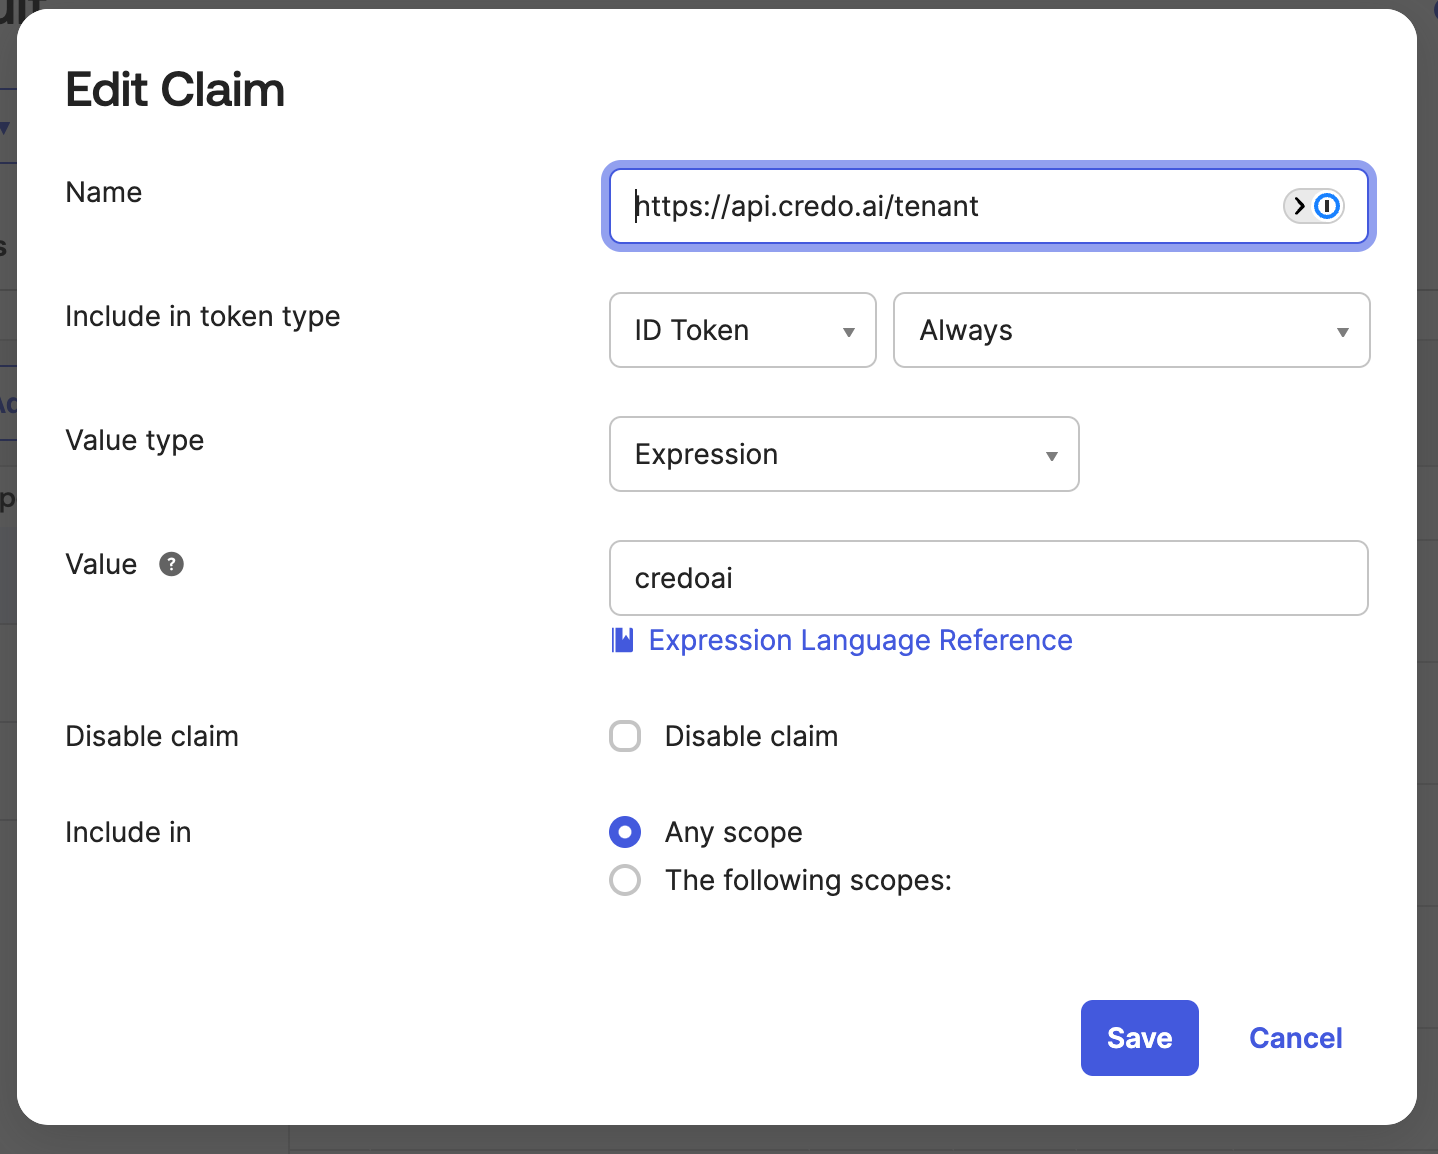
Add the following claims
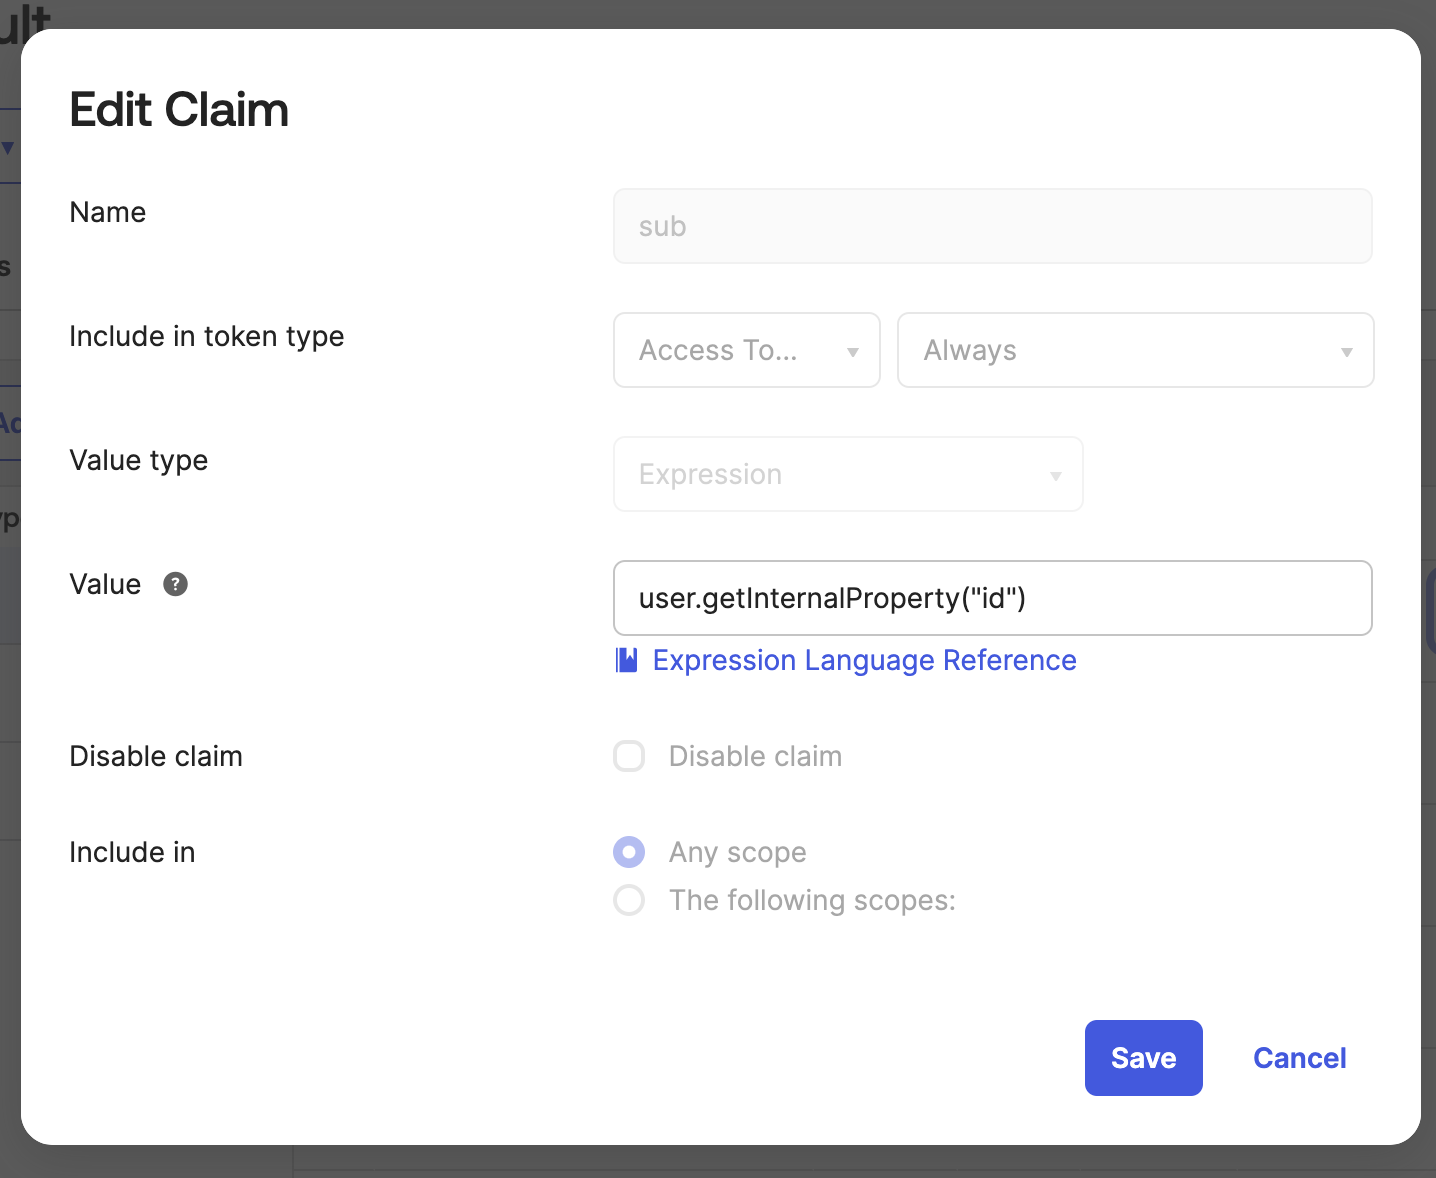
This shows the sub access claim in more detail with a value of user.getInternalProperty("id")
This shows the https://api.credo.ai/roles access claim in more detail with a value starting with credoai-
This shows the https://api.credo.ai/roles id claim in more detail with a value starting with credoai-
This shows the https://api.credo.ai/tenant access claim in more detail with a value of credoai
This shows the https://api.credo.ai/roles id claim in more detail with a value of credoai
Add access policies to the auth server according to your organizational policies.
If you are unable to configure custom claims as documented above (e.g., you cannot access user.getInternalProperty("id") or create custom claim mappings), use this alternative configuration:
Userinfo Sub Claim Mapping:
- In Okta, navigate to Advanced Settings
- Set Userinfo sub claim →
uid - This is Okta's default fallback when custom claim configuration isn't available
Audience:
- Use your organization's domain as the Audience (e.g.,
yourcompany.com) - Ensure this audience value is also configured in the Credo AI application settings (see Access Token Audience in the Credo AI Configuration section below)
Exports
Retrieve the audience and issuer uri for later app config
Credo AI Configuration
Once you have the client id from the SPA and the audience and issuer uri from the authorization server, you can configure the Credo AI application SSO.
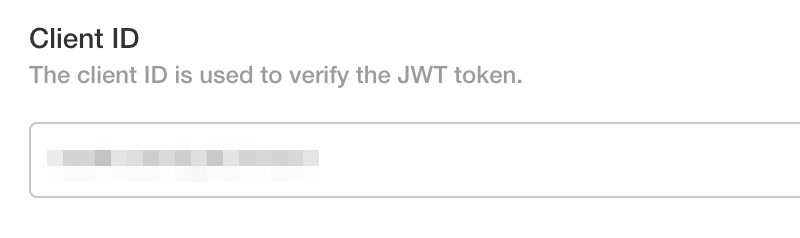
Client ID
Enter the client id
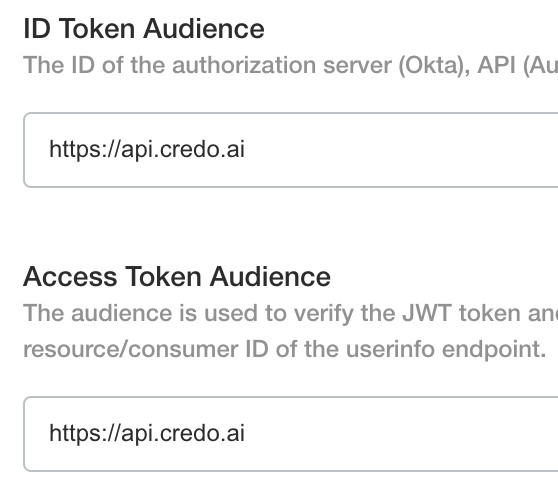
ID Token and Access Token Audiences
Enter the audience in both ID token and access token audiences
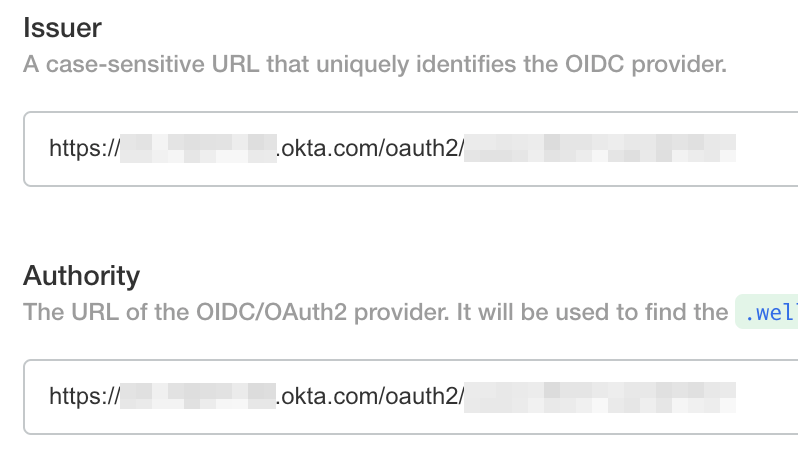
Issuer and Authority
Enter the issuer url for the issuer and authority fields
JWKS URL
Use the issuer url in the format <issuer url>/v1/keys for the jwks url

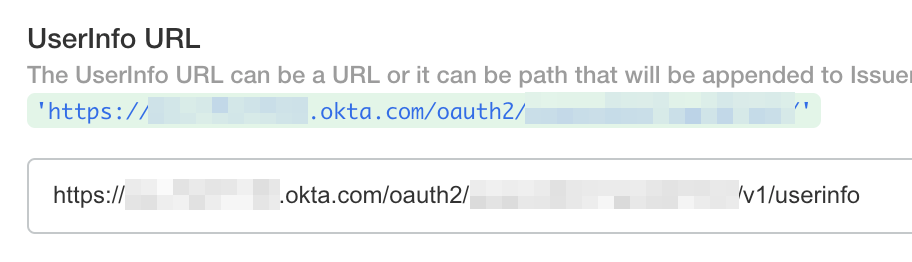
UserInfo URL
Use the issuer url in the format <issuer url>/v1/userinfo for the userinfo url